Install Xenserver 6.5 in VMware Workstation 12
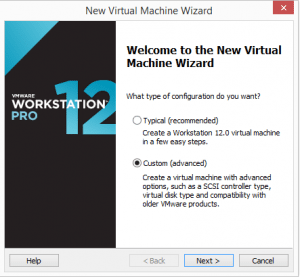
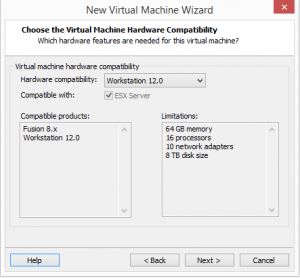
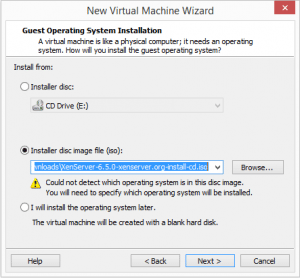
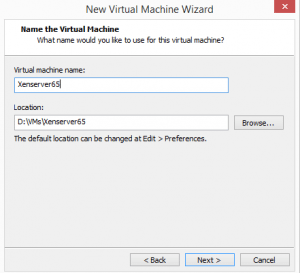
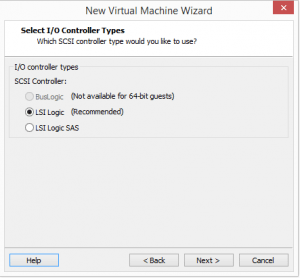
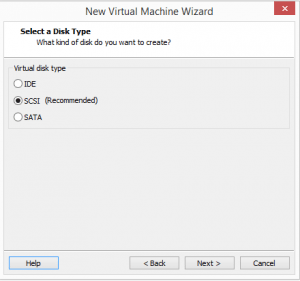
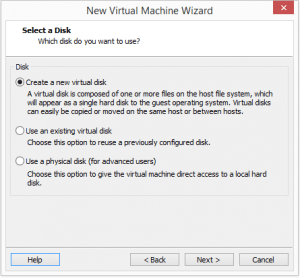
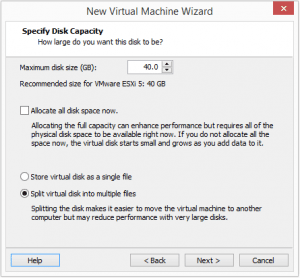
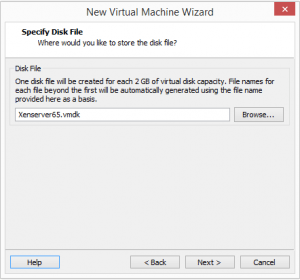
Just a quick write up on how to install XenServer 6.5 in VMware Workstation 12 via nested virtualization. First things first, we have to setup our nested virtual machine that will house the Xenserver 6.5 hypervisor in VMware Workstation.
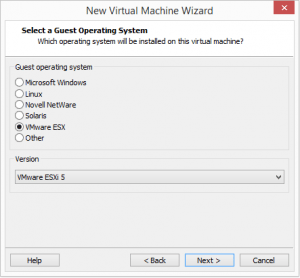
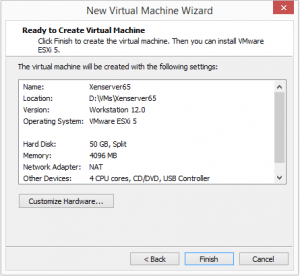
For the Guest operating system, we need to choose VMware ESX.
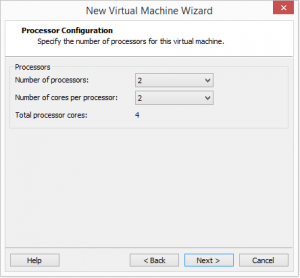
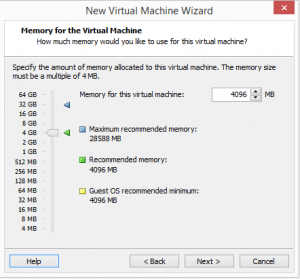
I simply chose to assign a couple of processors and cores to my VM since this is just a test box.
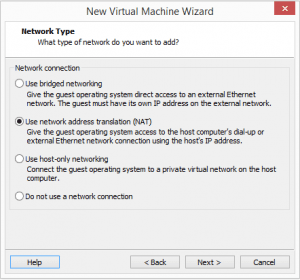
I am leaving the network setup as simply a NAT’ed configuration as I will just be playing around with Xenserver configurations within the VM.
Installing Xenserver 6.5
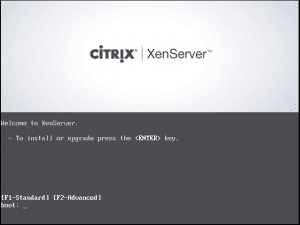
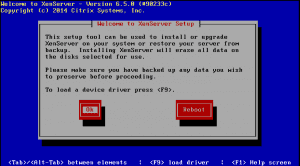
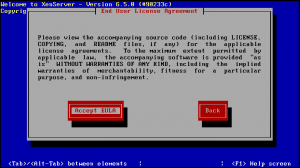
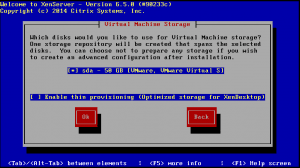
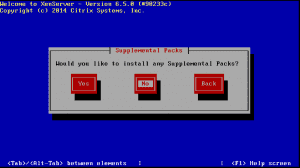
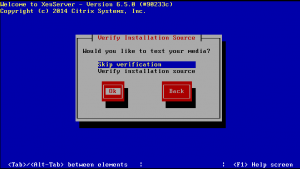
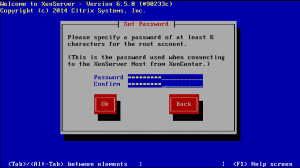
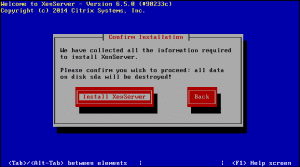
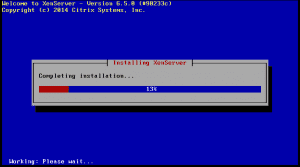
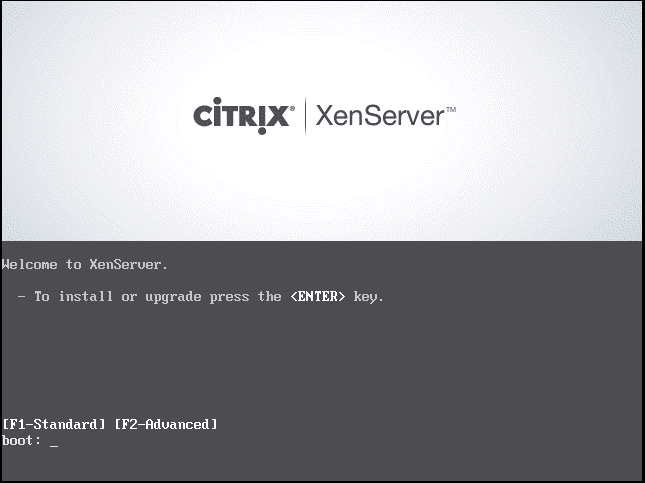
Off we go with the install.
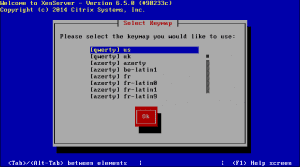
Keyboard configuration
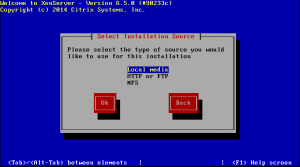
Here we choose which media we are installing from. We are booting from the ISO mounted in VMware Workstation 12 so we simply choose local media.
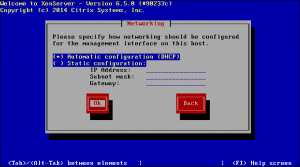
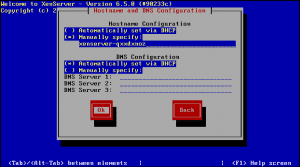
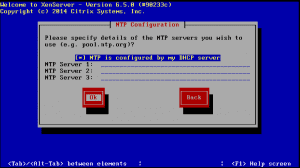
If you care more about specific network settings, you will want to spend more time here, however, in my case, I am letting VMware Workstation simply hand out a NAT’ed IP address which will be fine in my lab environment.
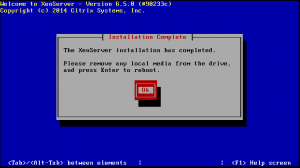
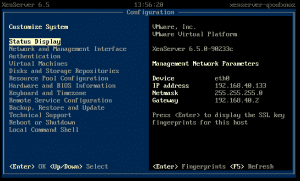
After the installer is finished, the VM should boot to the Xenserver Configuraton splash screen that shows all the pertinent information about the VM. This is a good place to get started looking at the various options in Xenserver.
Xencenter for Windows
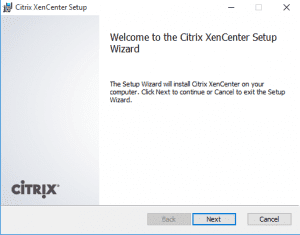
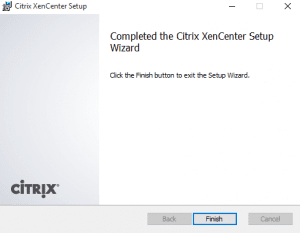
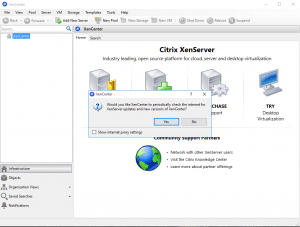
After the install of Xenserver 6.5, you will want to install Xencenter 6.5 SP1 on a Windows box for use in configuring and managing your Xenserver 6.5 environment. All the needed downloads can be found here: https://xenserver.org
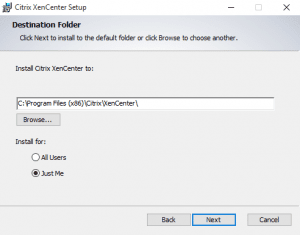
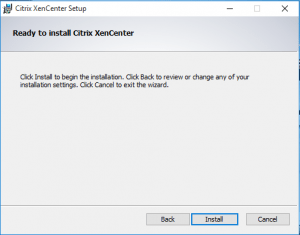
The installer is very quick and easy to install:
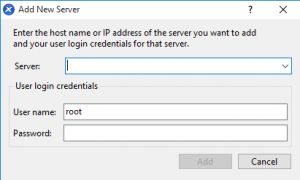
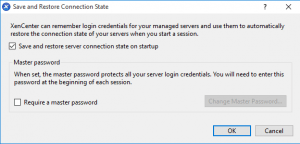
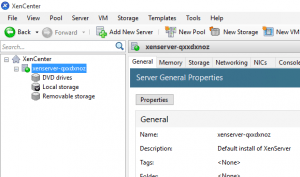
Using Xencenter to add your server
Now after adding the server, you can explore the features of Xencenter as well as provision your first new VM within Xenserver.
Stay tuned for more on my lab environment with Xenserver 6.5 and spinning up, managing, and configuring VMs within the environment.


