One of the first things that you are probably going to want to do with your Ubuntu server is SSH into it to either transfer files or have access to a remote command prompt to run commands, etc. By default SSH is not installed in a default installation of Ubuntu server so we are going to need to install it before we can use our favorite SSH utility to connect to the server.
In order to get SSH installed, it is simply a matter of running a short command at the command window. You will of course need to be on the console session of your Ubuntu server to run this since we don’t have SSH access as of yet.
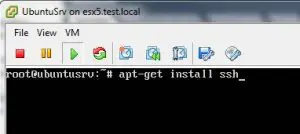
The command to run is:
apt-get install ssh
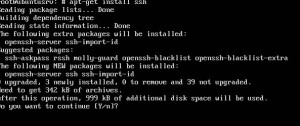
You will be prompted to confirm the installation of the packages needed to get SSH up and running.
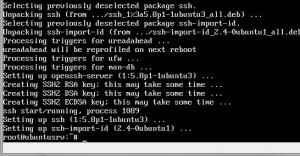
After installation, nothing special happens – you will simply see that the command finishes and you are brought back to the command line.
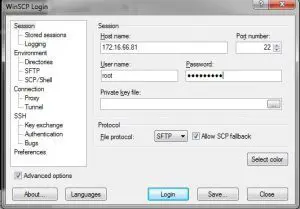
However, now that we have SSH installed and running, we can use WinSCP or other utility to connect to our server:
Final Thoughts:
It is certainly not too difficult to get SSH installed on your Ubuntu server and it is definitely one of those first few things you will probably need/want to do out of a clean installation to get your server ready to finish out the other configuration that you will most likely want to do. Also, again, by enabling SSH you will be able to transfer files to and from your server using an SCP utility of your choice.
Google is updating how articles are shown. Don’t miss our leading home lab and tech content, written by humans, by setting Virtualization Howto as a preferred source.


