How to manage your VMware environment from your iPad
Most admins are on the go from the time they get in the office until the time they leave (if they get to leave at the end of the day). Mobile devices have made the system administrator’s life much better by allowing them to manage key infrastructure from wherever they are, including Active Directory, network infrastructure, and other key systems. With that being said, virtualization has really become commonplace in most IT shops these days either with HyperV or more commonly VMware implementations. If you are a virtualization admin, monitoring VMs on the go or during a meeting may be something that you really need to be able to do and having access to VM information can be critical in keeping things running smoothly.
We have covered some really cool Android apps in the past on this site for admins wanting to manage their environments. Today we want to take a look at how you can manage your VMware environment using your iPad. Setting this functionality up is not that difficult and having access to the beautiful iPad VMware interface makes it worth it in the end. Let’s look at the components of getting this setup so that we can manage the VMware environment from our mobile devices.
The Components
There are a couple of key components besides having a vSphere server setup that we need to have in place before we can access this via our iPad.
- The vCMA virtual appliance
- The vSphere client for iPad
vCMA Appliance
VMware has done all the heavy lifting for us here in that they already have a free vCMA virtual appliance available and ready to download so the software install and most of the configuration is already done for us. In order to obtain the vCMA virtual appliance, visit the VMware Labs site here: https://labs.vmware.com/flings/vcma
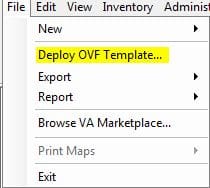
You will have the choice of either downloading a zip file or an ovf file which can be imported directly using the vSphere client interface. For this example, we are going to use the ovf file which allows us to import directly into vSphere. Once we have our file, open up your vSphere client and under the File menu, you will see the option to Deploy OVF Template…
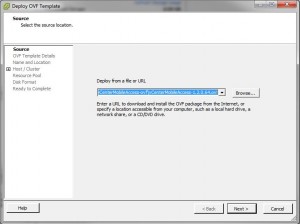
Once we click on the “Deploy OVF Template…” we will see the following dialog box which will start by asking us to point it to the OVF file:
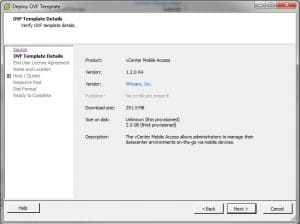
Next, we see the template details pulled from the OVF file:
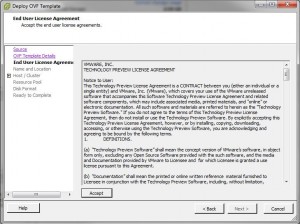
End user license agreement is next. You will need to hit the “Accept” button in the window before you will be able to go to the next step:
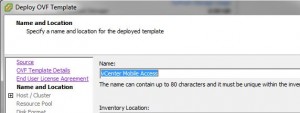
Next we are asked to name the VM we are about to create:
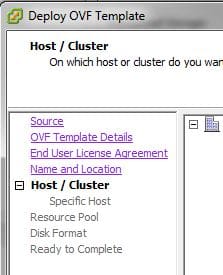
Choose your Host/Cluster to house the VM:
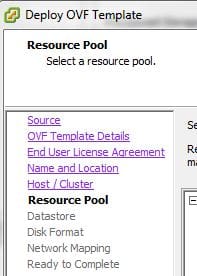
Choose your Resource Pool:
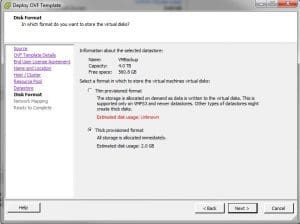
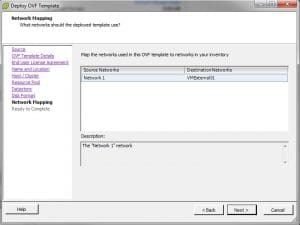
Next you will be asked to choose your Datastore, type of Disk formatting, and network mapping:
After choosing the above options, you will then get a summary page basically giving you a listing of the options you have chosen and then the ability to “Finish” the process and let vSphere get started creating the VM.
Booting the VM
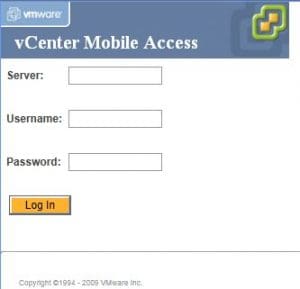
After vSphere finishes creating the VM and boots, you should be able to connect to the web interface using a browser and see something similar to the following:
Once we get the above access via the web interface, we are ready to now begin getting our iPad connected to the server.
iPad App
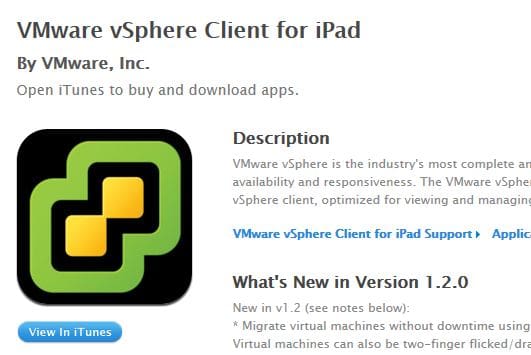
The official iPad app is a free download from VMware and is found either directly via the Appstore on your iPad or via iTunes here. Once you have download the iPad app and installed it, the only thing left to do is connect your vSphere app to your vCMA server which we setup using the steps above. Simply follow the prompts to enter the IP address information to your vCMA server as well as your vSphere server once connection is made to vCMA.


