Installing Additional Hub Transport Servers – Exchange 2010 SP1
In many small organizations we find that many install one server to handle all the needs of their employees. So, all Exchange 2010 SP1 roles may be installed on a physical box. There is nothing wrong with doing this if the size of your organization does not warrant splitting out server roles and possibly the most important reason – your budget simply does not allow it. However, if the budget exists to install multiple servers for various roles, Microsoft has built in really nice redundancy with the Exchange 2010 SP1 product. In this post we want to focus in on the Hub Transport server role. This role is extremely important and if you lose your only Hub Transport server, mail will not move anywhere. The really nice thing about having redundant Hub Transport server roles is that this can be accomplished out of the box. System Administrators will not have much work to do to have multiple Hub servers installed in their environment.
Case in point, recently we had a client who had a single mailbox server, single Hub server, and single CAS server, all split up between 3 physical servers. The client wanted to add an additional server for some redundancy for the Hub Transport role as well as their web facing Client Access Server. Basically to accomplish this, we simply have to provision the new hardware and run the Exchange 2010 SP1 setup. There are a few things to note that need to be done before we can install exchange however. The OS of choice is Windows Server 2008 R2 with SP1.
- Before installing Exchange, we made sure we had all the latest Windows updates
- Also, Microsoft details in this Technet Article which roles/features need to be installed for the various Exchange 2010 server roles: https://technet.microsoft.com/en-us/library/bb691354.aspx
- After installing the roles above, the server will reboot making sure everything is good to go
- Make sure you have your IP address and DNS configurations completely setup before starting the install as this will ensure there are no DNS problems after the install
The install
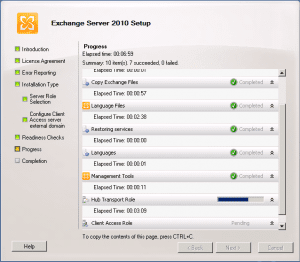
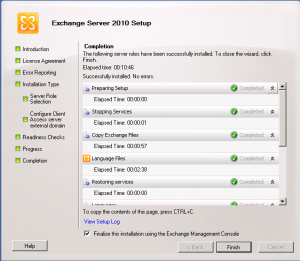
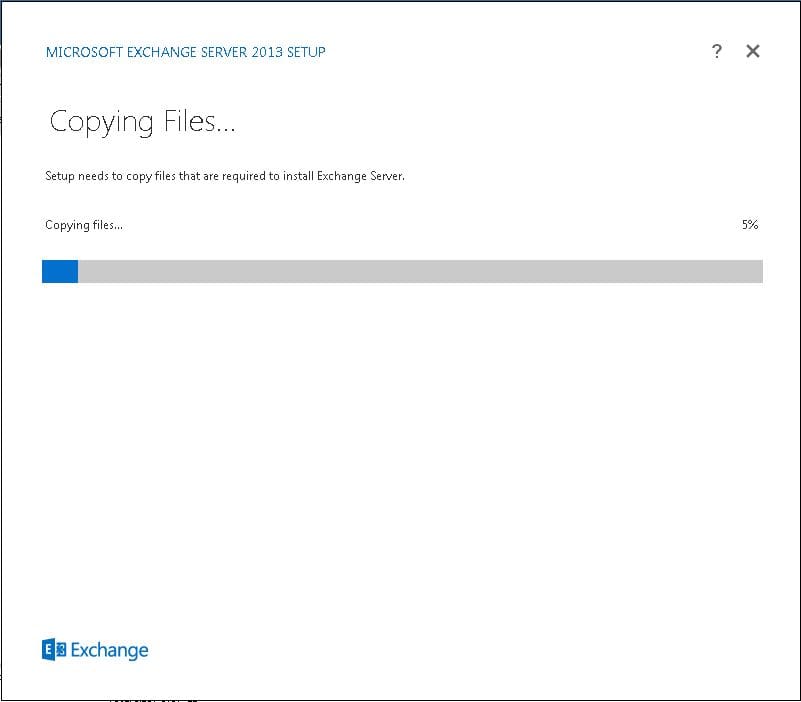
Installing the Hub Transport role and an additional CAS role is extremely painless. We simply mounted the media and selected our roles and continued to Install the product.
After installing the software, we made sure to get the latest rollup updates from Microsoft to ensure we had the very latest code. At the time of this writing we had Rollup 3 v3 available to us:
You will need to reboot the server at this point.
Other configurations:
After rebooting, we want to make sure all of our settings on the Hub Receive connectors are setup the way we want them. We simply mirrored the settings for the other Hub server in the environment. Since we were installing an additional Client Access Server as well, we made sure to install a certificate to secure the OWA site and also set the registry key to make sure that all expired passwords would get prompted to change their password if attempting to login via OWA. Take a look at the how-to article on how to set this up here.
Final Thoughts:
Installing additional Hub servers in your Exchange 2010 SP1 environment is a very good thing to do. Active Directory automatically load balances these connections to the Hub Transport servers and there is nothing from the admin side you have to do to set this up. The only exception to that rule is if you have the Hub role installed on a Mailbox server role enabled server – the mailbox server will always use itself as the preferred Hub Transport server.
By enabling multiple servers in the environment you make sure that you have redundancy built into your Exchange Organization. Keep in mind there are many other things that can be done with Exchange 2010 SP1 to create a redundant scenario including Database Availability Groups and CAS arrays. All options should be explored if optimal redundancy is required for you organization.


