Installing vCenter Server 4.1 Step by Step
Installing vCenter Server 4.1 update 1 is a fairly straightforward install. In preparation for this demo, we have built a Windows 2008 R2 64 bit server with all Windows updates, downloaded the ISO for vCenter Server 4.1 update 1 (which is roughly 2.3GB) and burned this to our media. So simply run your DVD or mount your ISO file via the method of your choosing to get the setup rolling.
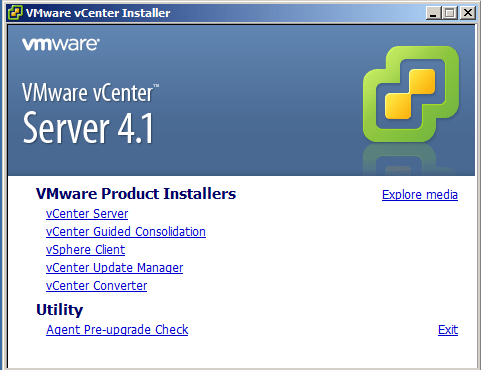
Once you run the DVD, you will be presented with the following installation screen for vCenter Server 4.1. Notice that you have the options for many other components here, however, for this post, we will focus on the vCenter Server install:
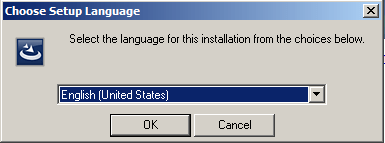
Language selection is next:
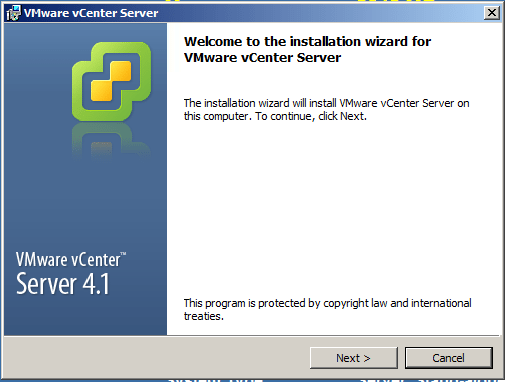
Next comes the “Welcome to the installation wizard for VMware vCenter Server” screen:
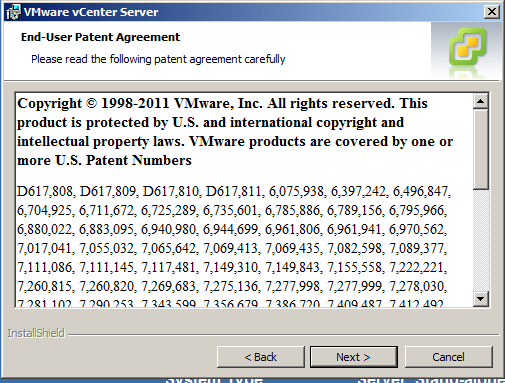
Review and “Next” past the Patent agreement:
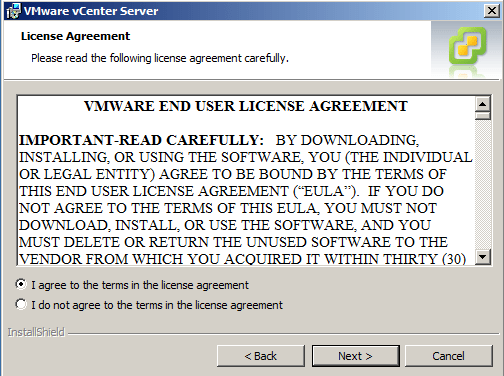
Select “I agree to the terms in the licence agreement”
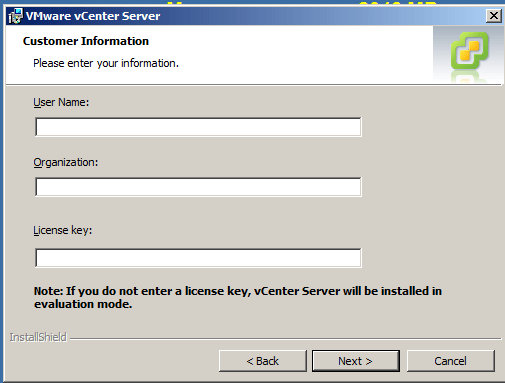
Enter your Customer Information including “User Name” “Organization” and also very importantly your “License Key.” As noted for the license key field, if you do not enter one, vCenter will be installed in Evaluation Mode.
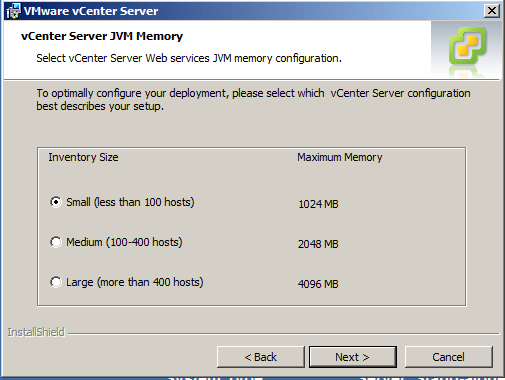
vCenter Server JVM Memory configuration screen allows you to configure your deployment Memory:
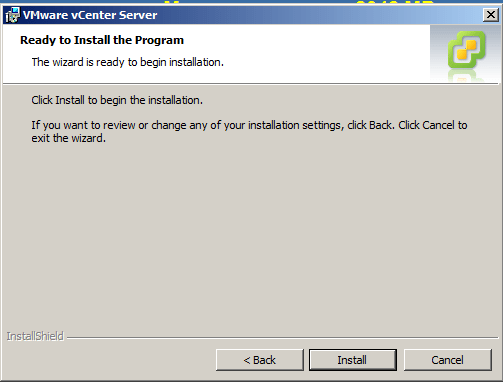
You will next receive the “Ready to Install the Program” screen where you need to click “Install.”
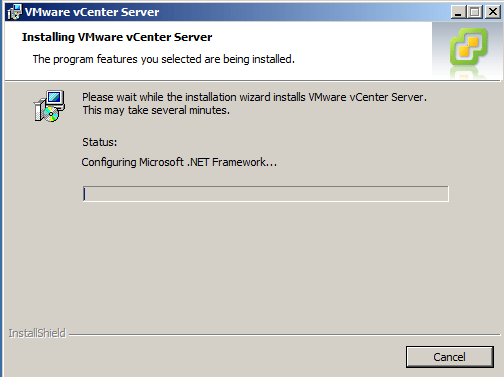
The install will take several minutes while the various components are installed:
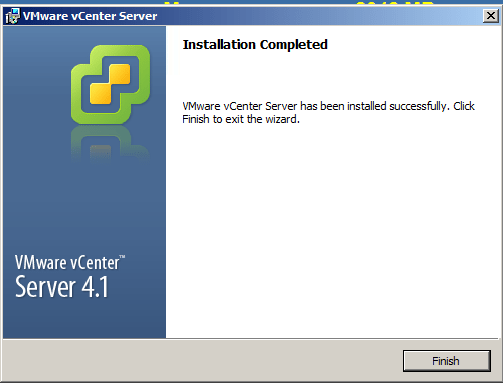
The install will let you know when the Installation is Completed.
vCenter Server installation is typically a straightforward install without any problems. The installer does a good job of rolling through the various components installations once you have made all the choices in the installation wizard.


