Upgrade VMware ESXi 8.0 to Update 3 with vSphere Lifecycle Manager
Highlights
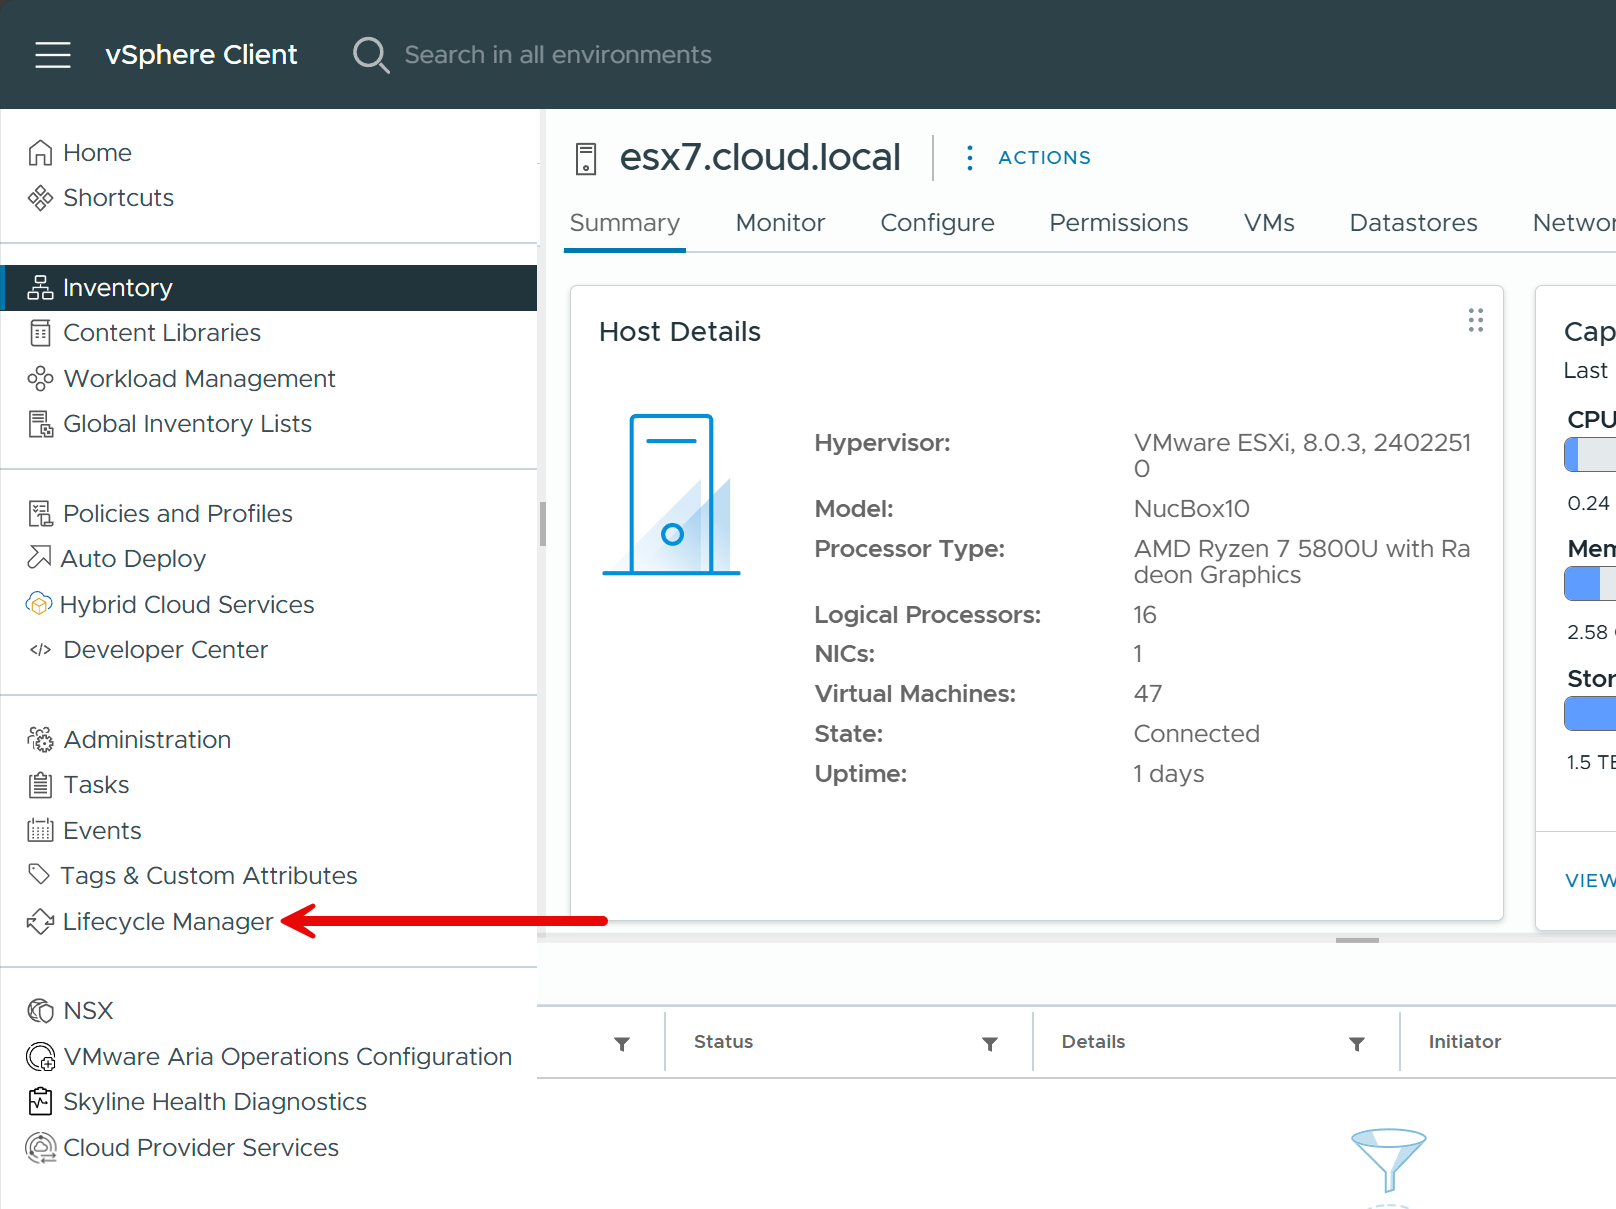
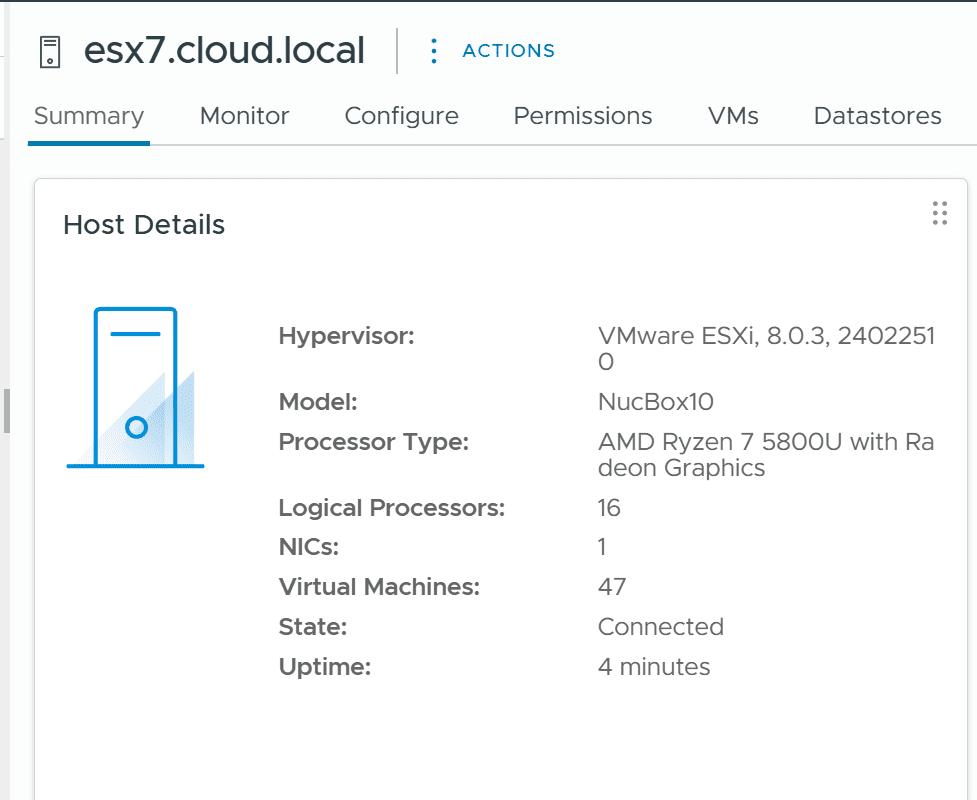
- Once the ESXi host reboots from the vSphere Lifecycle Manager remediation process, you can look at the host details and see the hypervisor version reflect the new VMware ESXi, 8.
- Once you change the image for the cluster, you will see the note that the image has changed and the hosts need to be checked for compliance.
- There is usually a KB article or other snippet listed with the error that you can either search for or reference to attempt to troubleshoot the issue.
Following my post on how to upgrade vCenter Server to 8.0 Update 3, I want to show how you can easily upgrade your ESXi hosts to 8.0 Update 3 with vSphere Lifecycle Manager using the image-based approach for updates. This is the new alternative to upgrading ESXi compared to the legacy Update Manager solution. Let’s look at the steps to upgrade VMware ESXi.
You can read the official release notes for VMware vSphere 8.0 Update 3 here: VMware vSphere 8.0 Release Notes
Steps to upgrade VMware ESXi 8.0 to Update 3
First, you will need to upgrade your vCenter Server. If you want to see how to go through that process, read my blog post here: Upgrade vCenter Server to 8.0 Update 3.
The first thing you will want to do is upgrade VMware ESXi 8.0 to Update 3 using Lifecycle Manager. You can navigate to the hamburger menu and then click Lifecycle Manager.
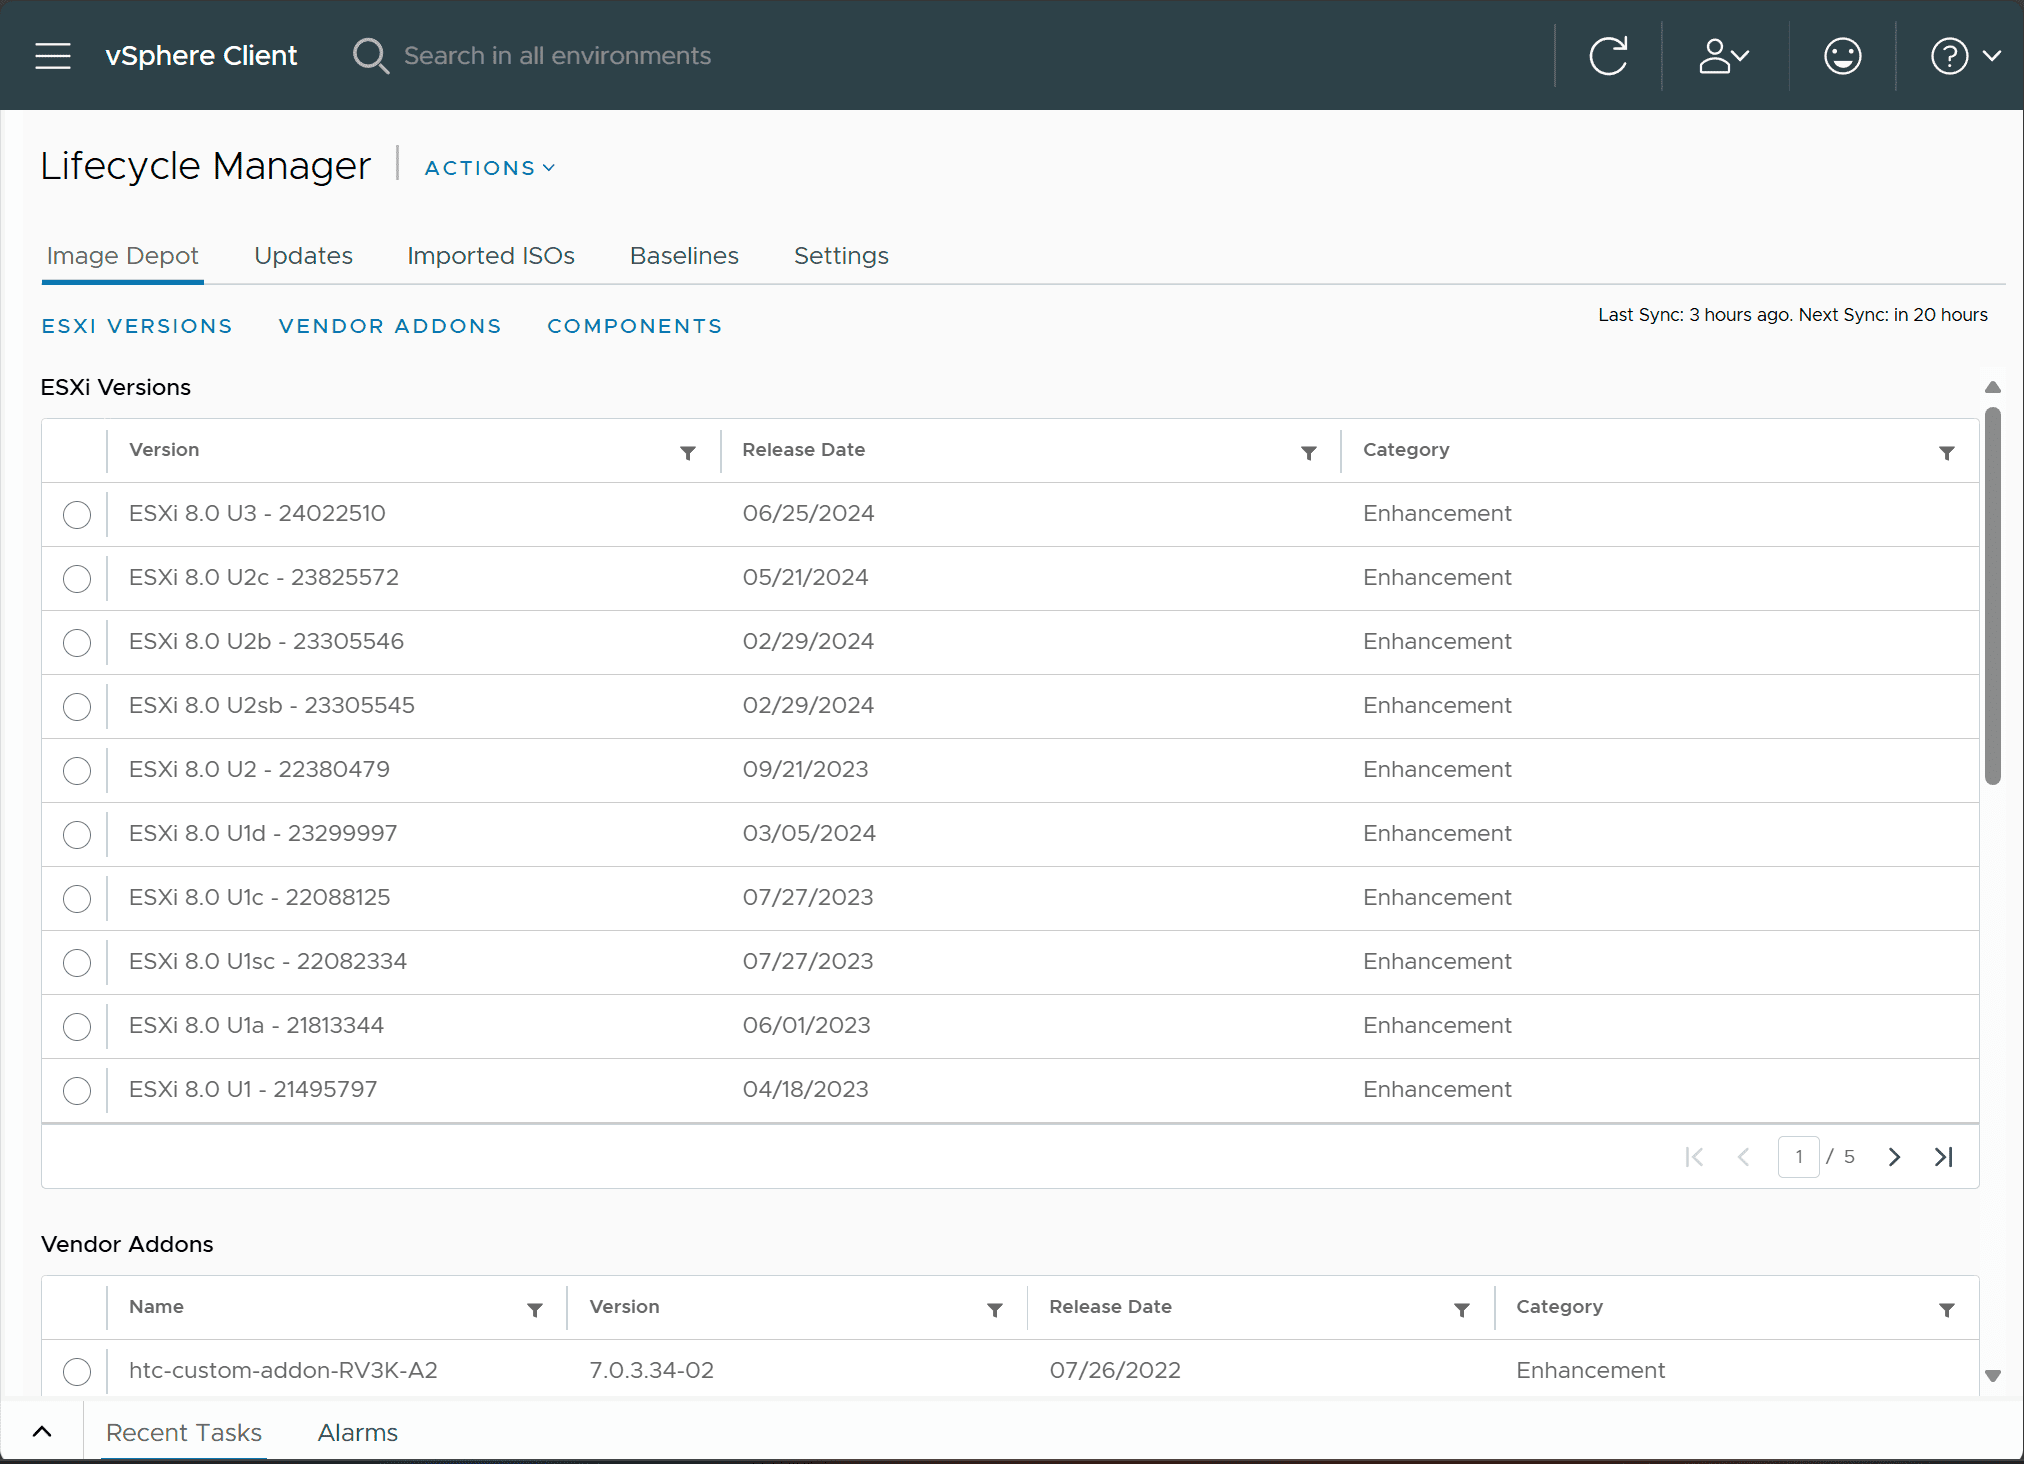
Under the Image Depot, you should see the ESXi 8.0 U3 24022510 image listed at the top.
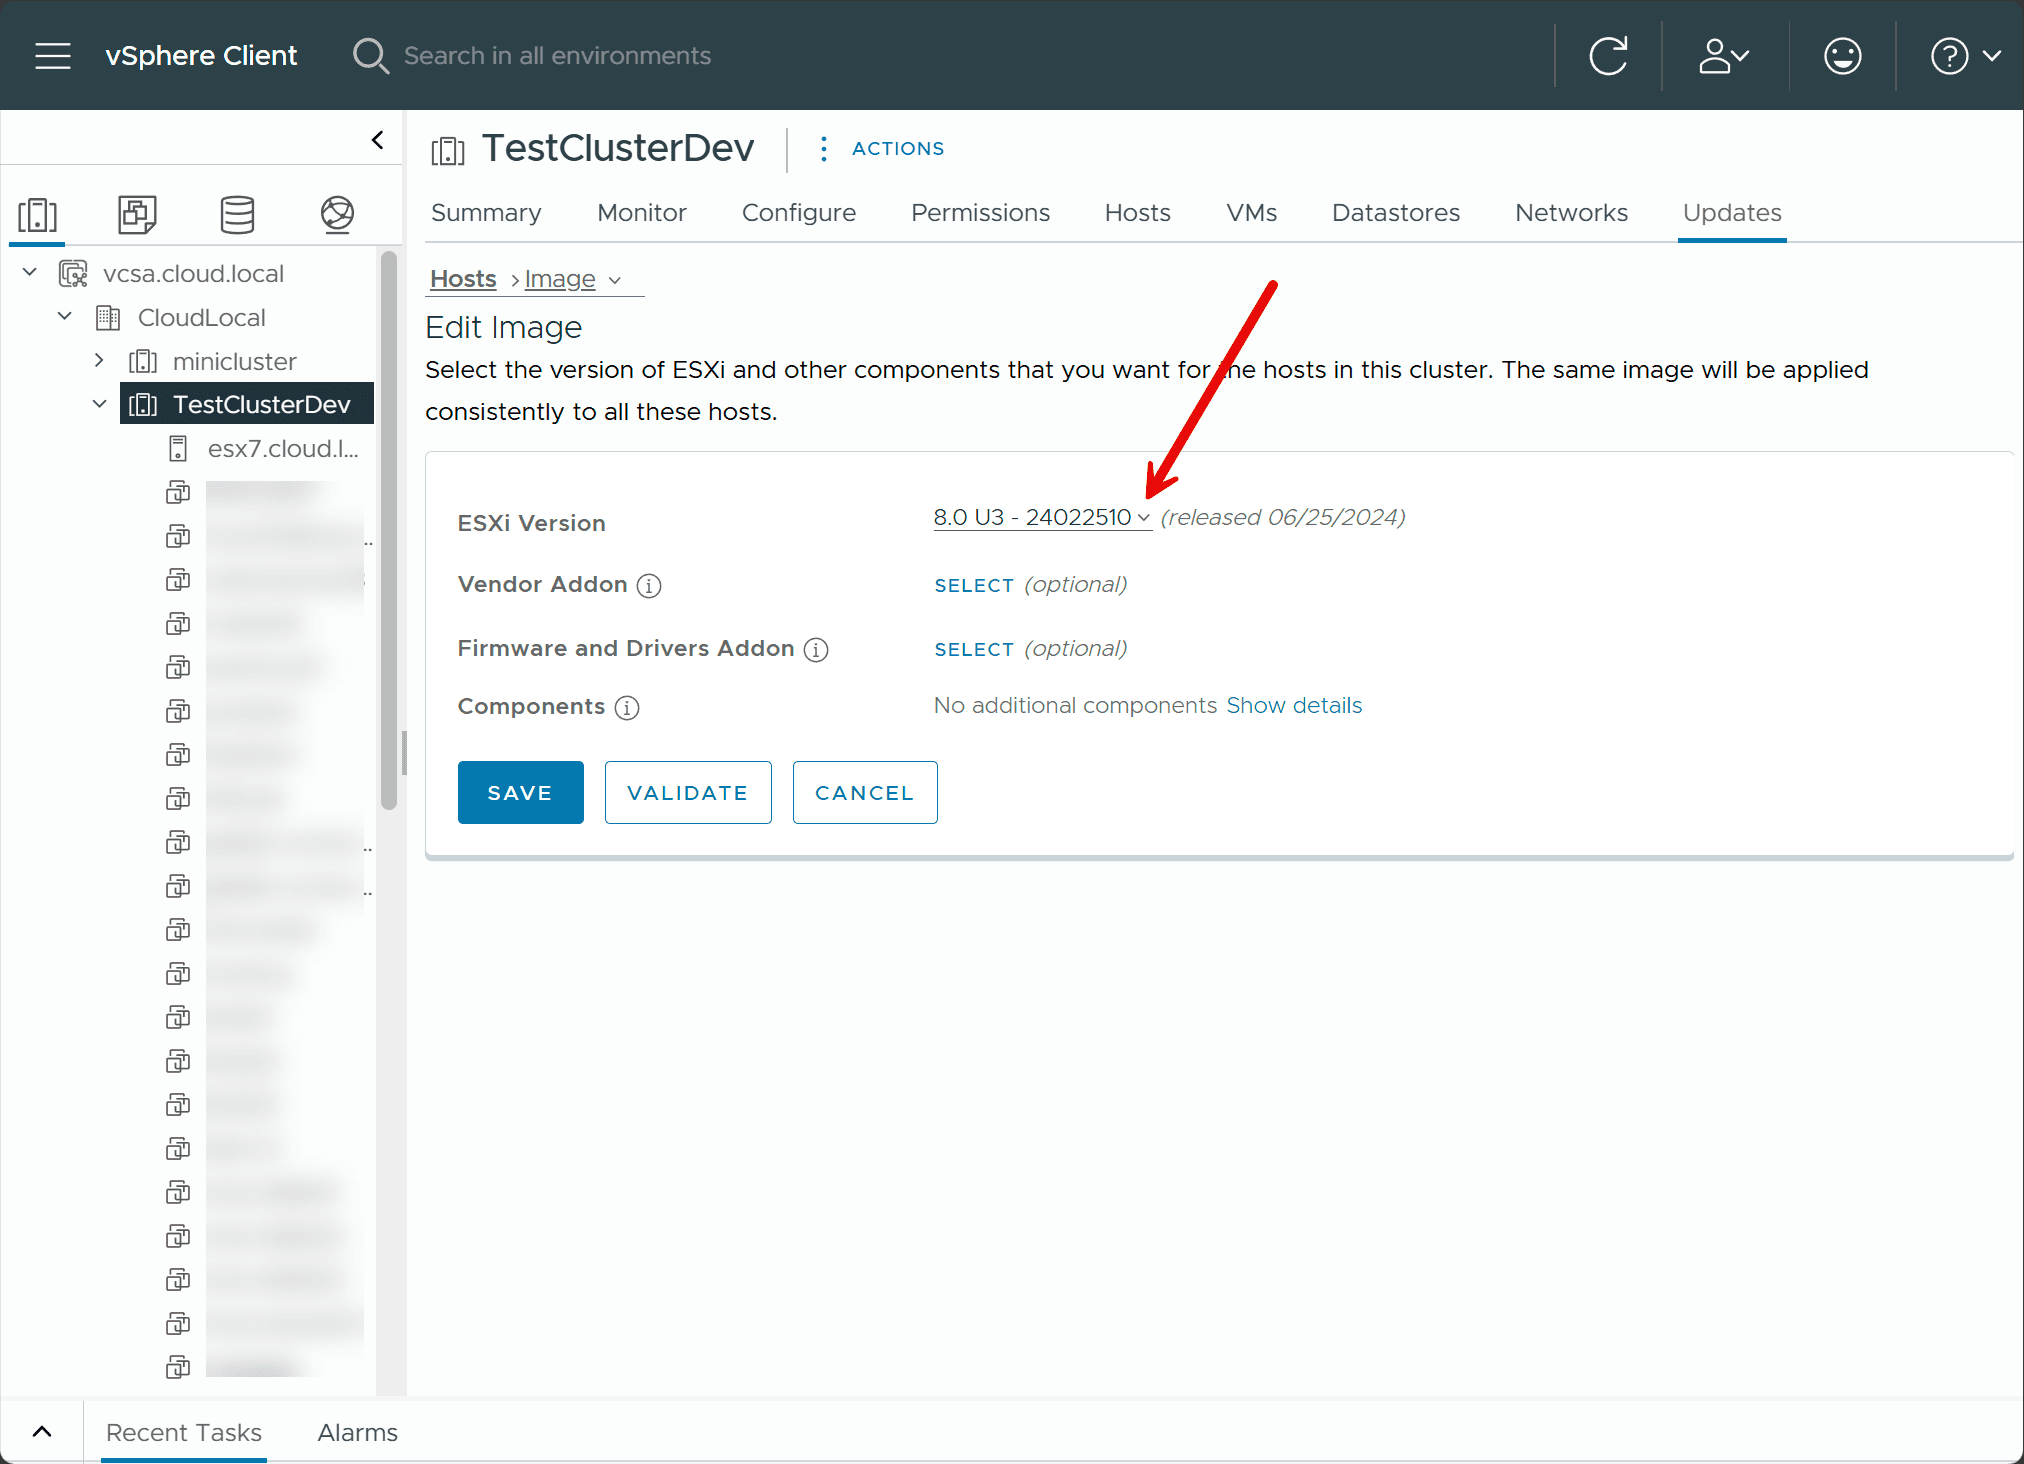
Navigate to the Updates tab on the properties for your cluster. On the ESXi Version, you can click the drop down and choose the new 8.0 U3 – 24022510 image for the cluster.
Once you change the image for the cluster, you will see the note that the image has changed and the hosts need to be checked for compliance.

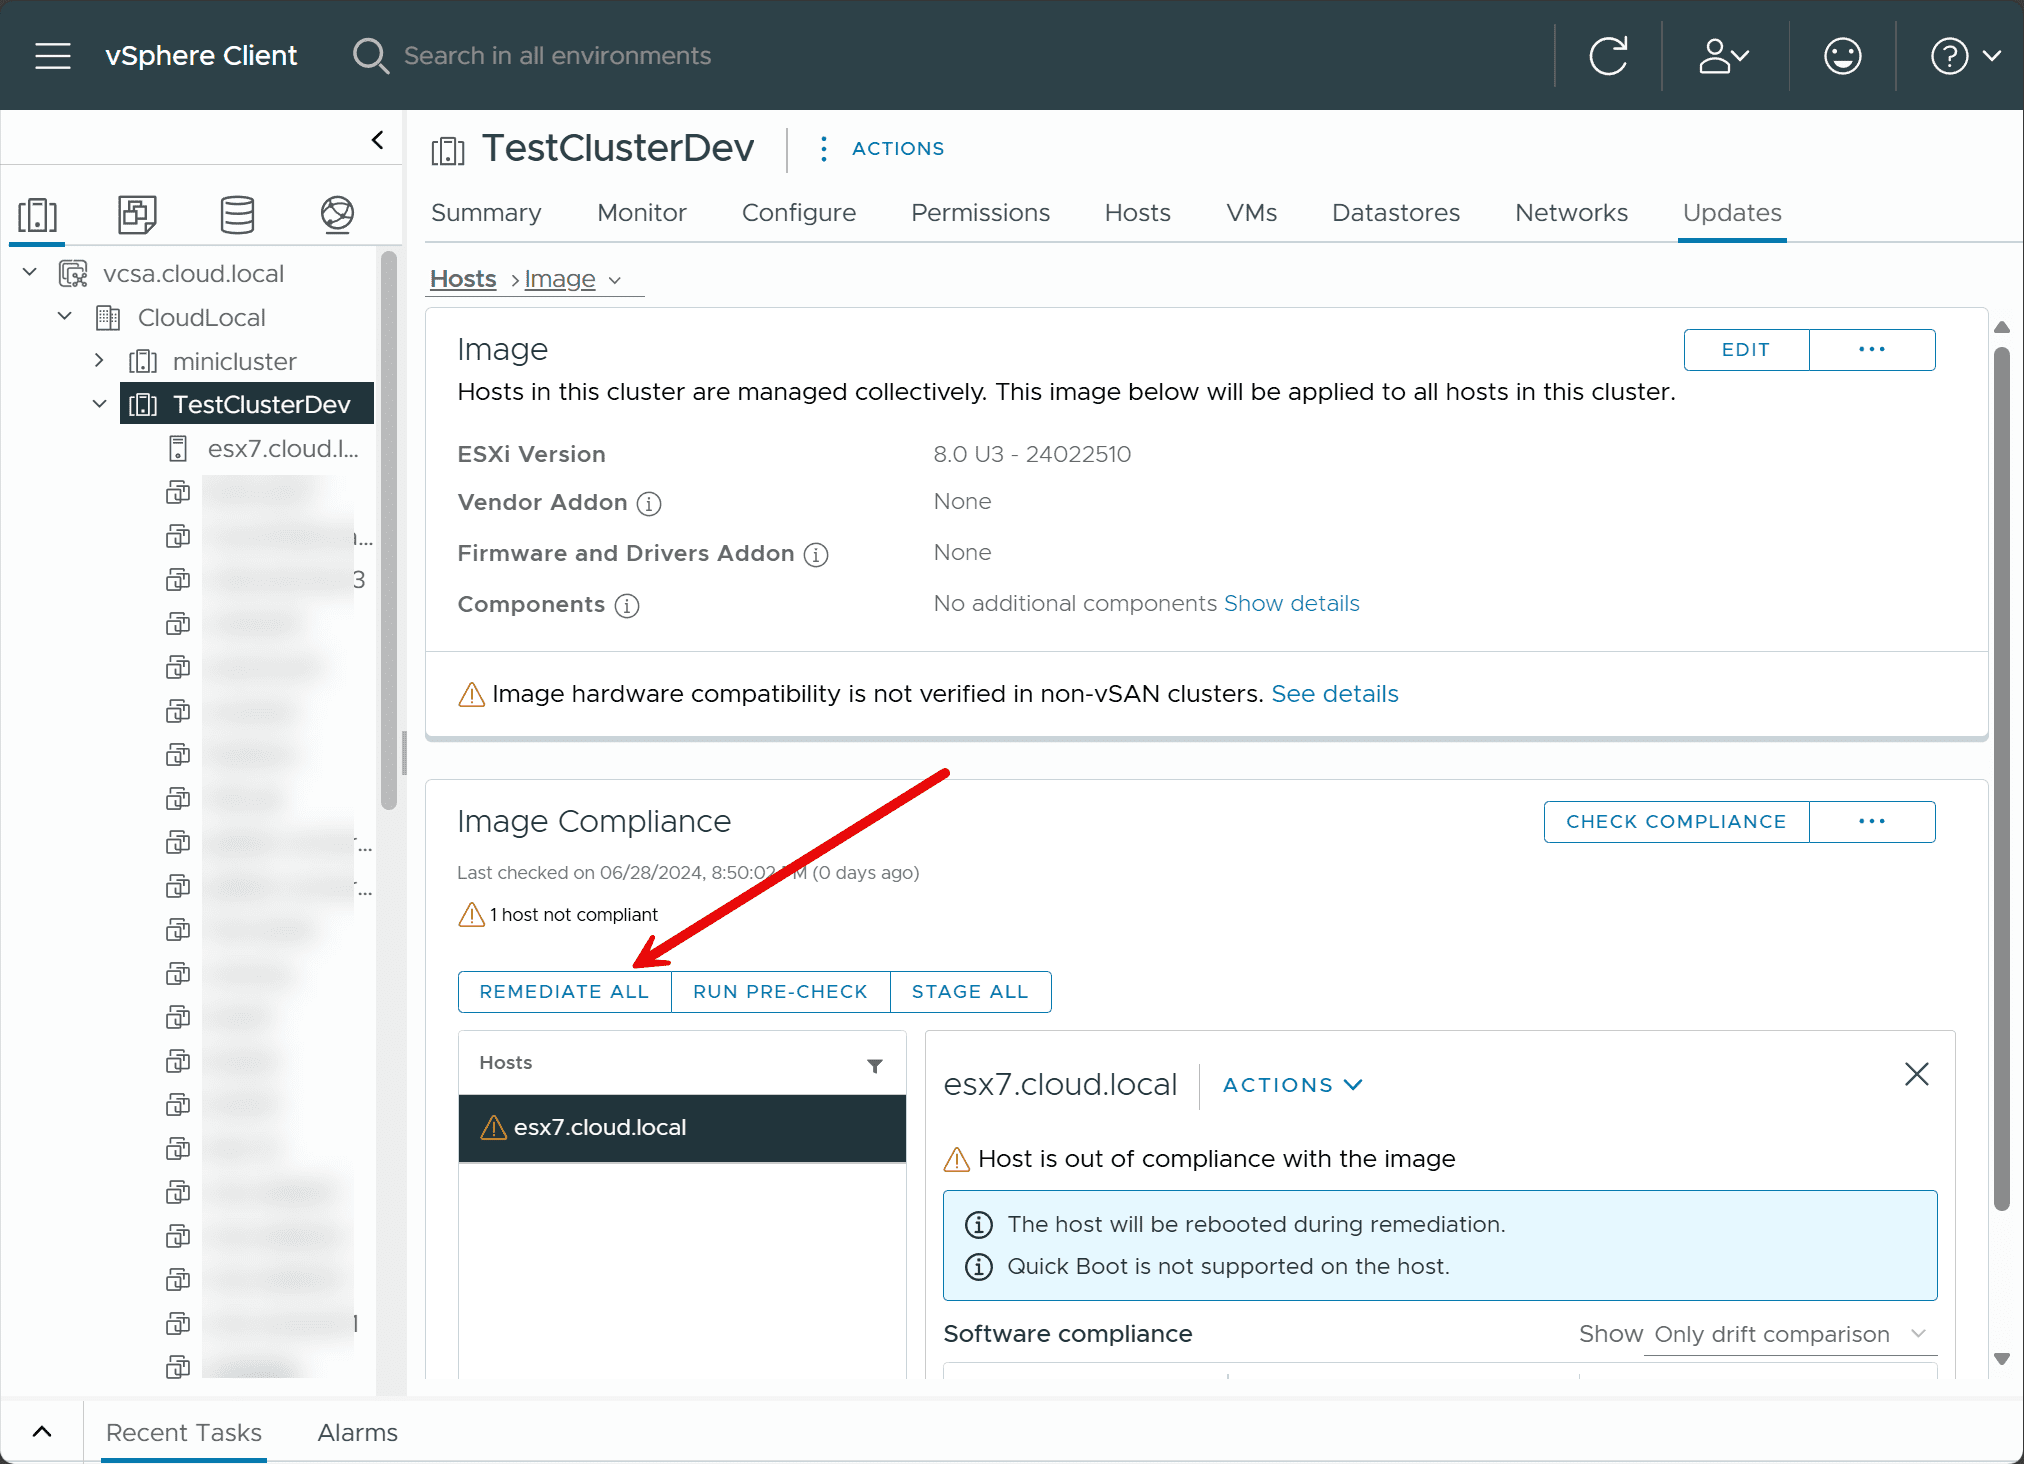
Once the compliance level has been checked for the hosts in the cluster, you will see the options to:
- Remediate All
- Run Pre-Check
- Stage All
Below, I am about to run the Remediate All.
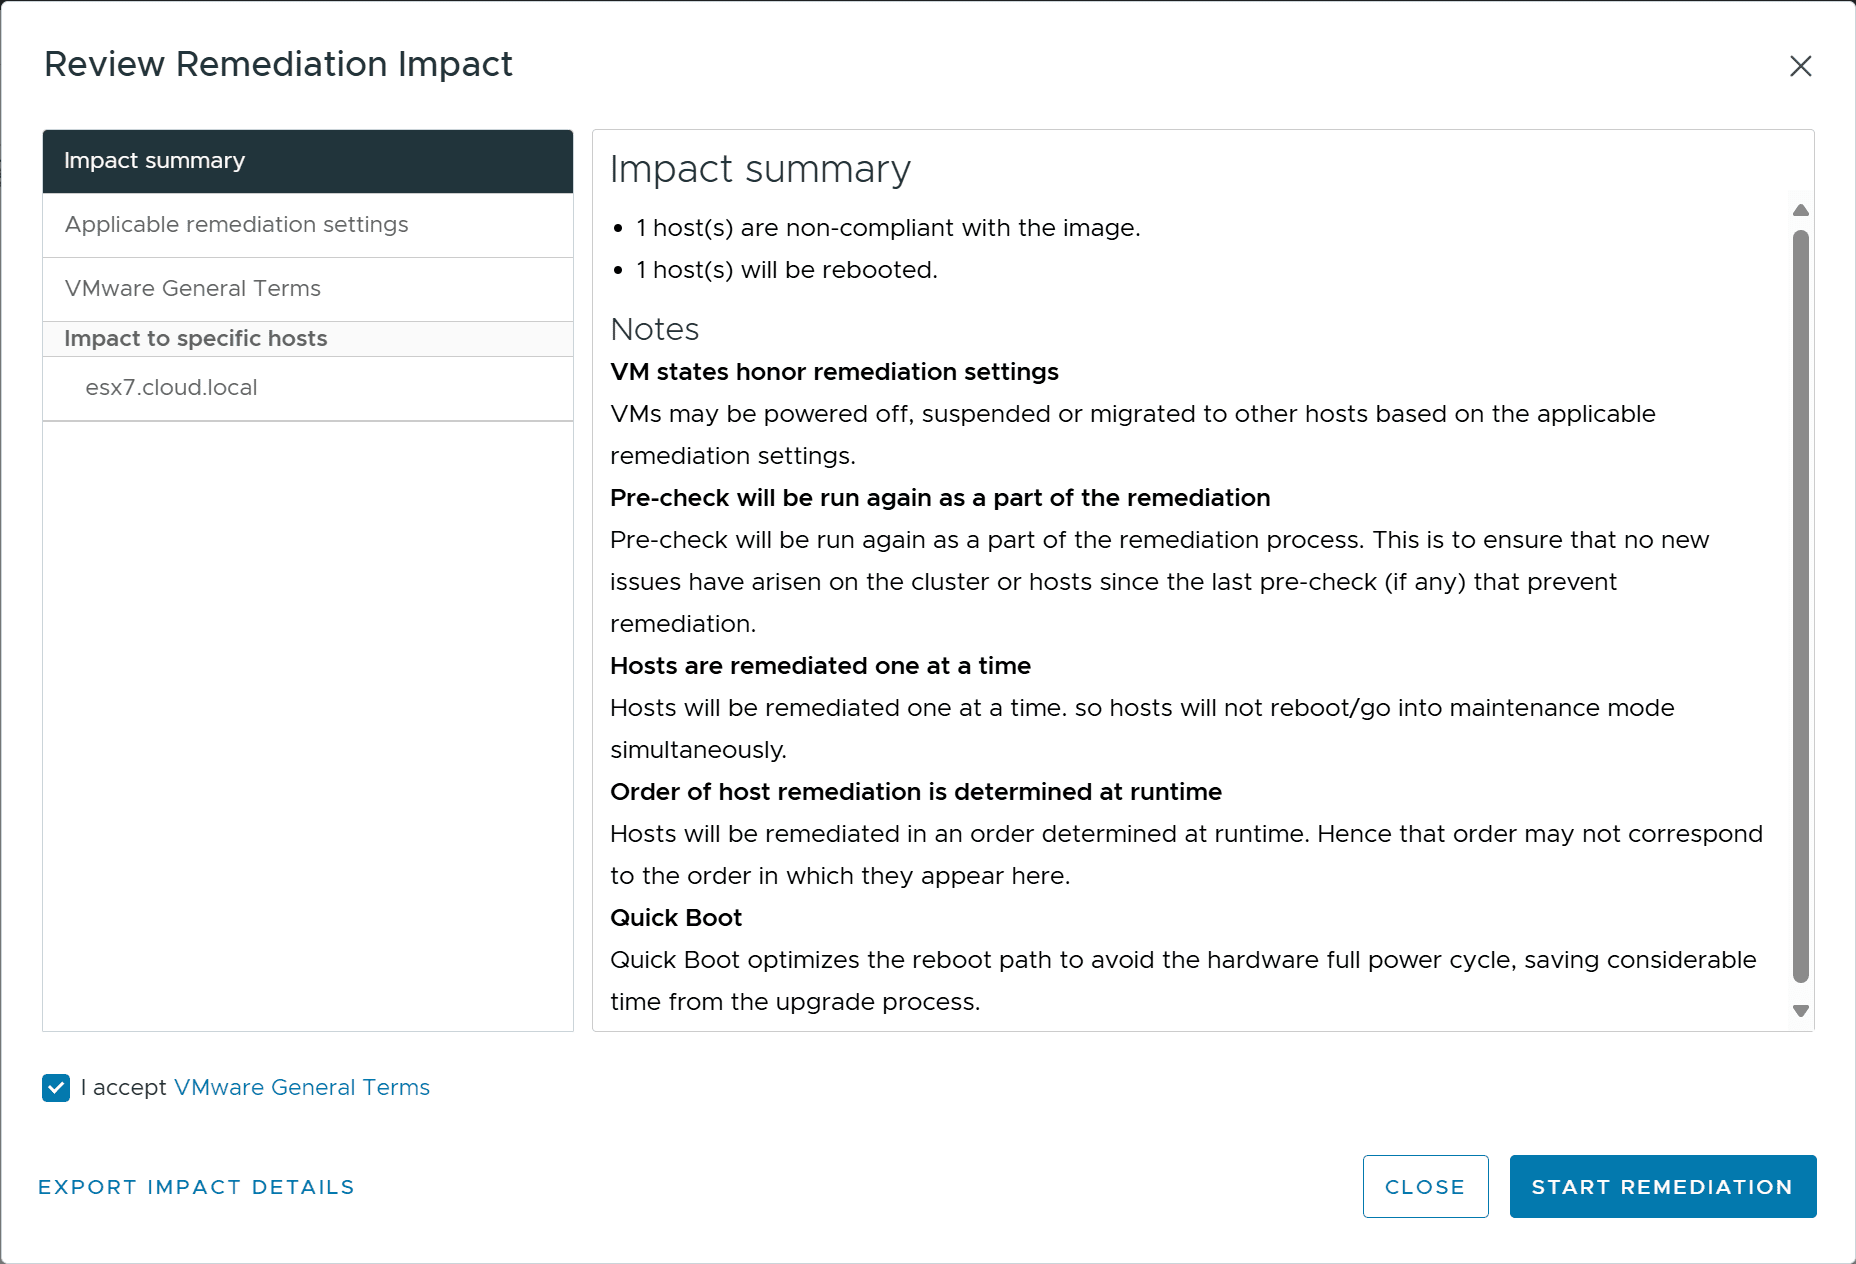
This will launch the Remediation Impact wizard. You will see the impact summary given for remediating the cluster. Once you review the remediation impact summary, you can click the Start Remediation button.
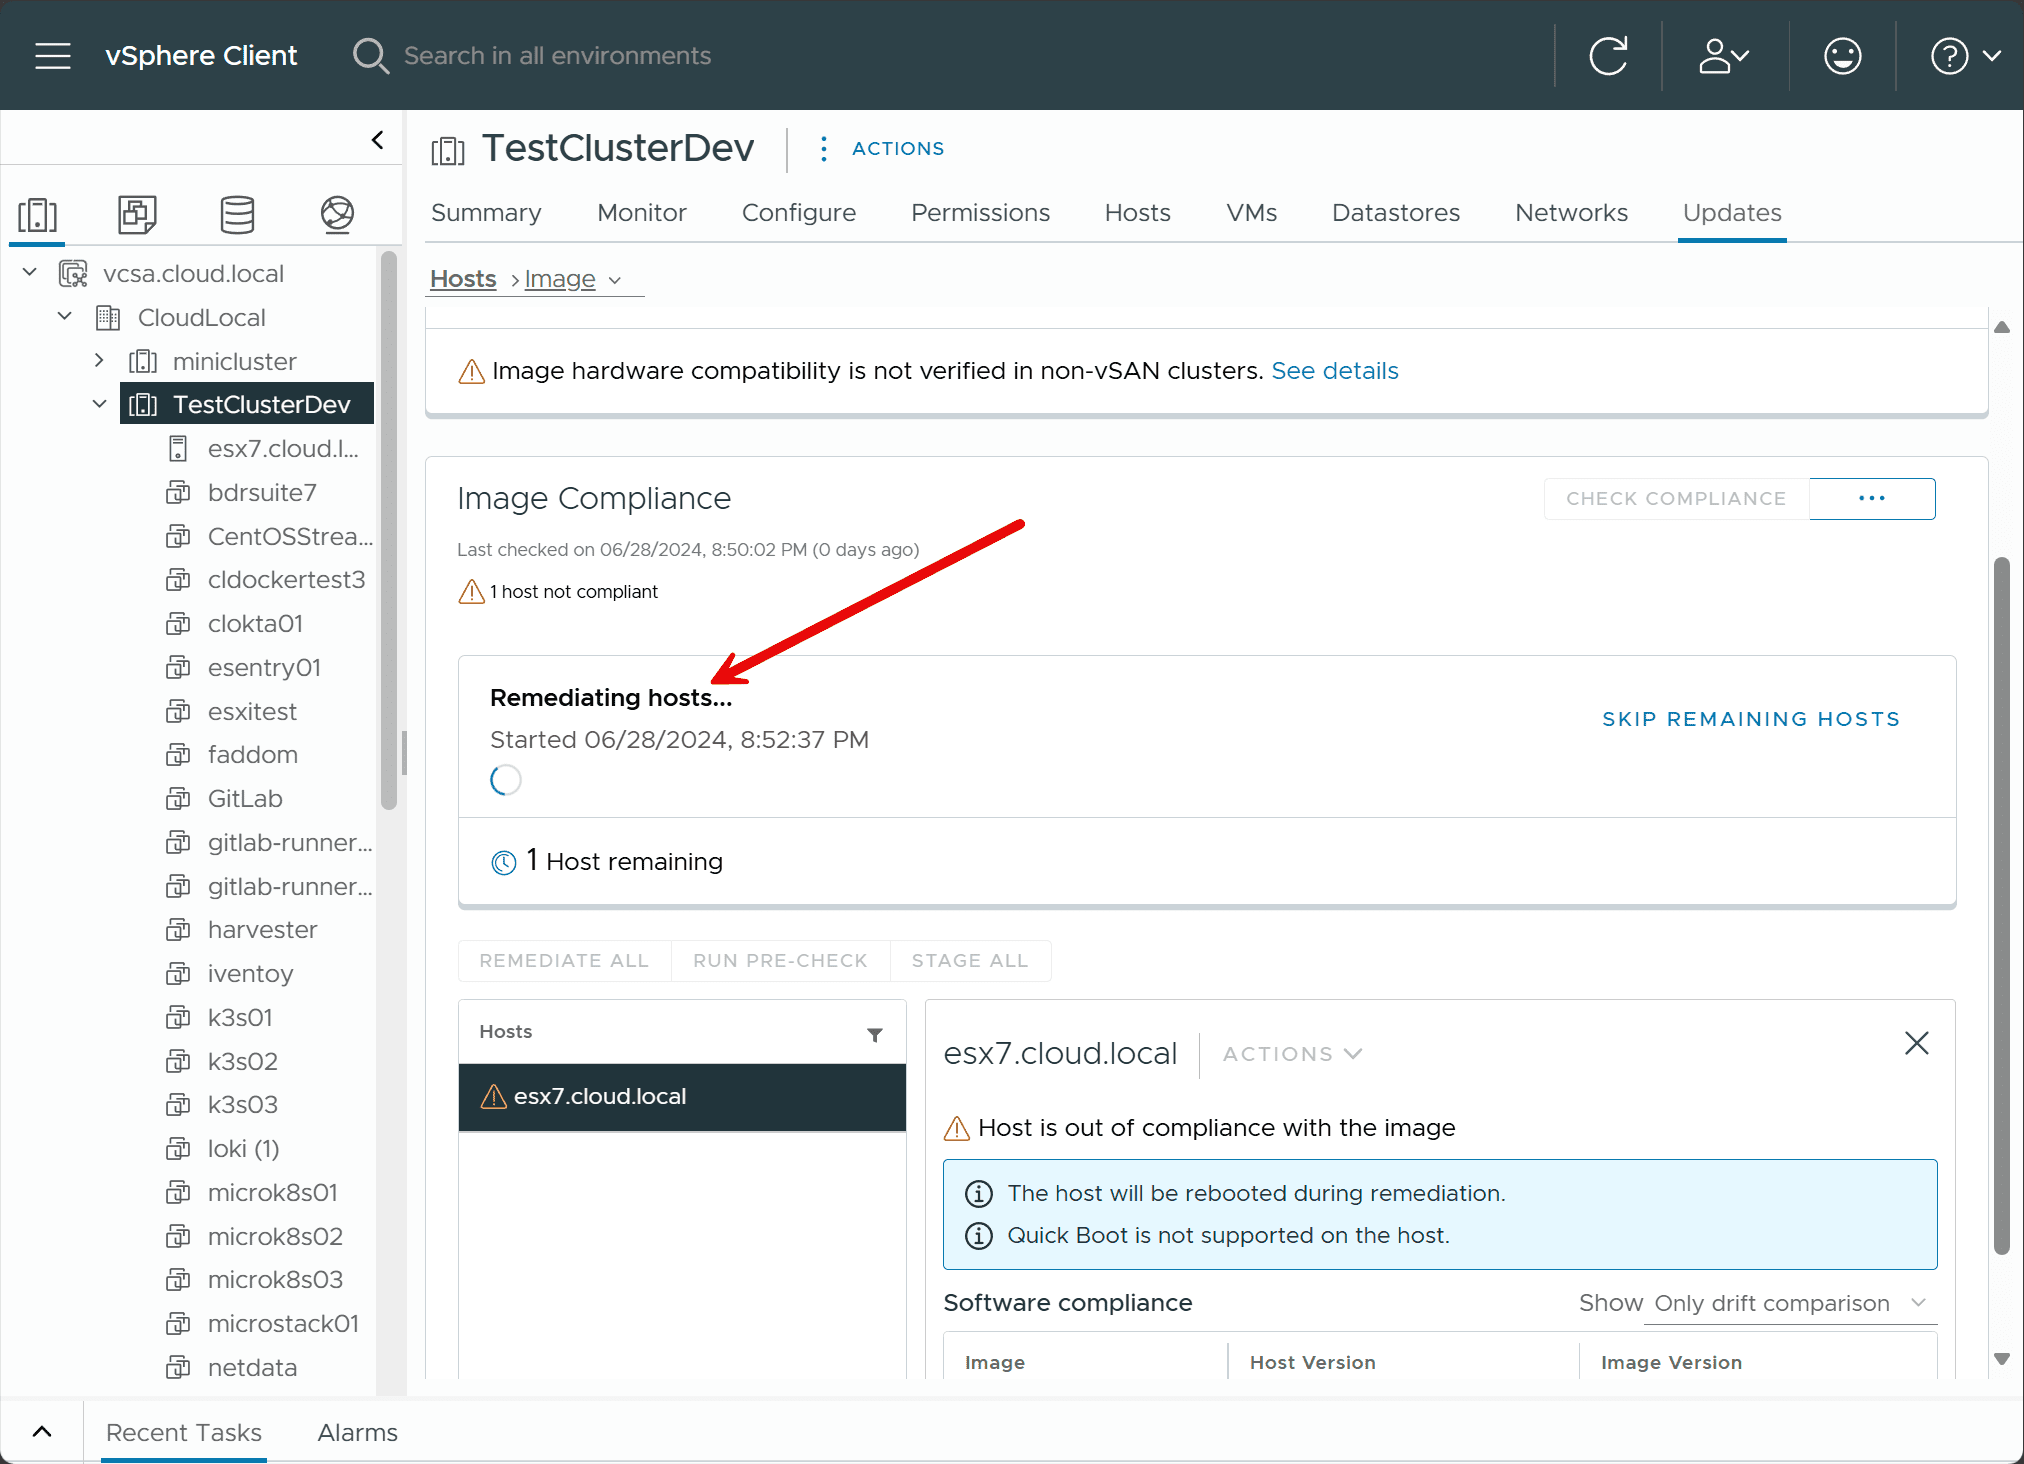
The remediation of the ESXi hosts begins. You will see the messaging of remediating hosts which will run the pre-checks and then remediate the hosts in the cluster. Each host will be evacuated, placed in maintenance mode, update applied, and rebooted.
Once the ESXi host reboots from the vSphere Lifecycle Manager remediation process, you can look at the host details and see the hypervisor version reflect the new VMware ESXi, 8.0.3, 24022510.
Troubleshooting
There are a few things that can cause issues from my experience with upgrading VMware ESXi servers. Note the following things to make sure of:
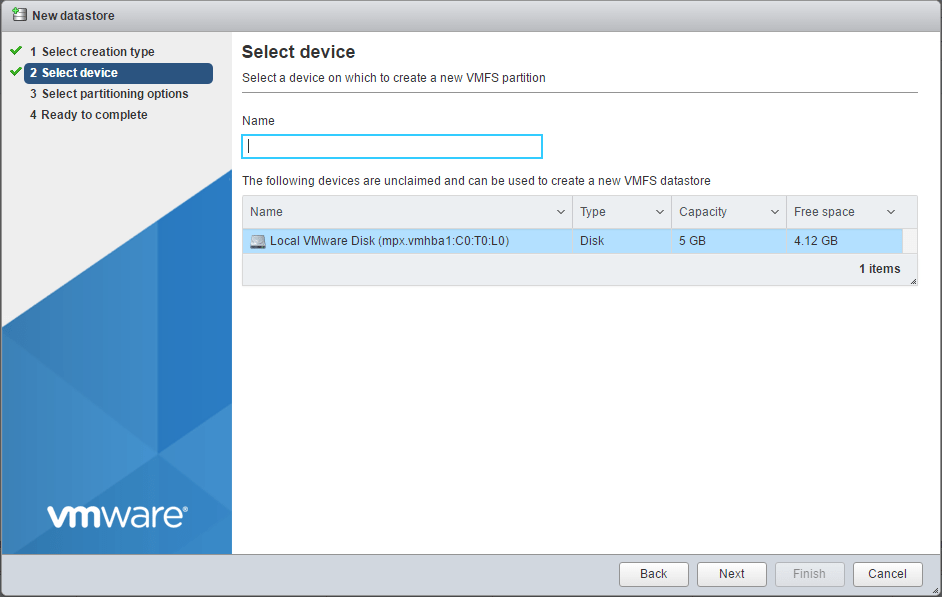
- Make sure your ESXi host has plenty of free space on the root partition – While likely this won’t cause issues with production hosts with enterprise hardware and drives, if you are running nested labs and running small virtual disks, you might see issues with disk space from time to time.
- You don’t see the vSphere 8.0 U3 image available – You need to either let the sync updates task run in vCenter or you can do this manually with the process Lifecycle Manager > Actions > Updates > Sync Updates.
- The update fails after initiating the Lifecycle Image remediation – Take note of the exact error message that comes from the failed update. There is usually a KB article or other snippet listed with the error that you can either search for or reference to attempt to troubleshoot the issue.
Next steps
If you haven’t already, upgrade your vCenter Server to vCenter Server 8.0 Update 3. This will put you in a position to then upgrade your ESXi servers to the latest image version available. Then you can use vSphere Lifecycle Manager to upgrade your ESXi servers using the vLCM solution in vCenter. Of course, there are also other ways to upgrade your ESXi host, including booting from the 8.0 U3 ISO, using the command line, etc.
Take a look at my video covering the 3 ways here to upgrade ESXi to 8.0. The process is the same if you want to go up to 8.0 Update 3:
Wrapping up
Hopefully, this review of how to use the vSphere Lifecycle Manager tool will be a good refresher if you want to take up your home lab to vSphere 8.0 Update 3 since its recent release. There are many great new features found in the U3 release. If you haven’t seen what those are, check out my blog post here: VMware vSphere 8 Update 3 Released New Features and Download.