I wanted to share with you guys the process to upgrade vCenter Server from 8.0 Update 2 to the newly released Update 3. The process is super easy and can be completed in just a few minutes. Let’s look at the process along with screenshots of the process.
Table of contents
Things to consider before updating
There are things to consider before updating your vCenter Server appliance. One of the main things to think about is whether or not your data protection solution is compatible with vCenter Server 8.0 Update 3. Often, it will take a little while for backup vendors to release the officially supported update that will add support for the new vSphere version.
Also, make sure to consider any other integrations with vCenter Server and make sure these are compatible with the new version before updating.
You can read the vCenter Server 8.0 Update 3 release notes here: VMware vCenter Server 8.0 Update 3 Release Notes.
Take a snapshot
Before I upgrade vCenter Server, I take a snapshot of vCenter so that I have an easy rollback in case something goes really wrong with the update, you can roll back to the snapshot. One thing to note, I had a comment on a recent vCenter patch post to emphasize that your snapshot needs to be without memory on vCenter.
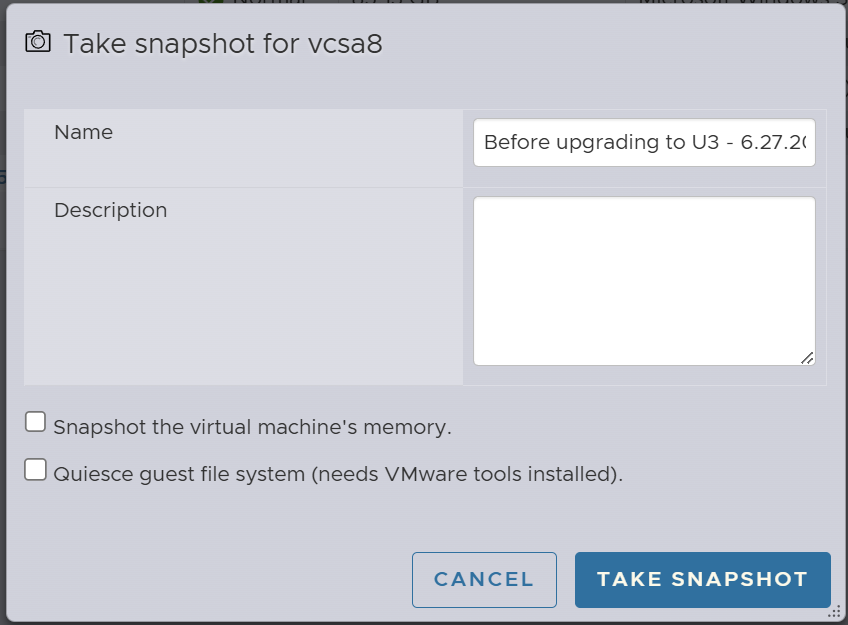
Also, you will want to pause backup solutions so these won’t be attempting to take backups while the vCenter Update is applying.
Running the upgrade process to vCenter 8.0 Update 3
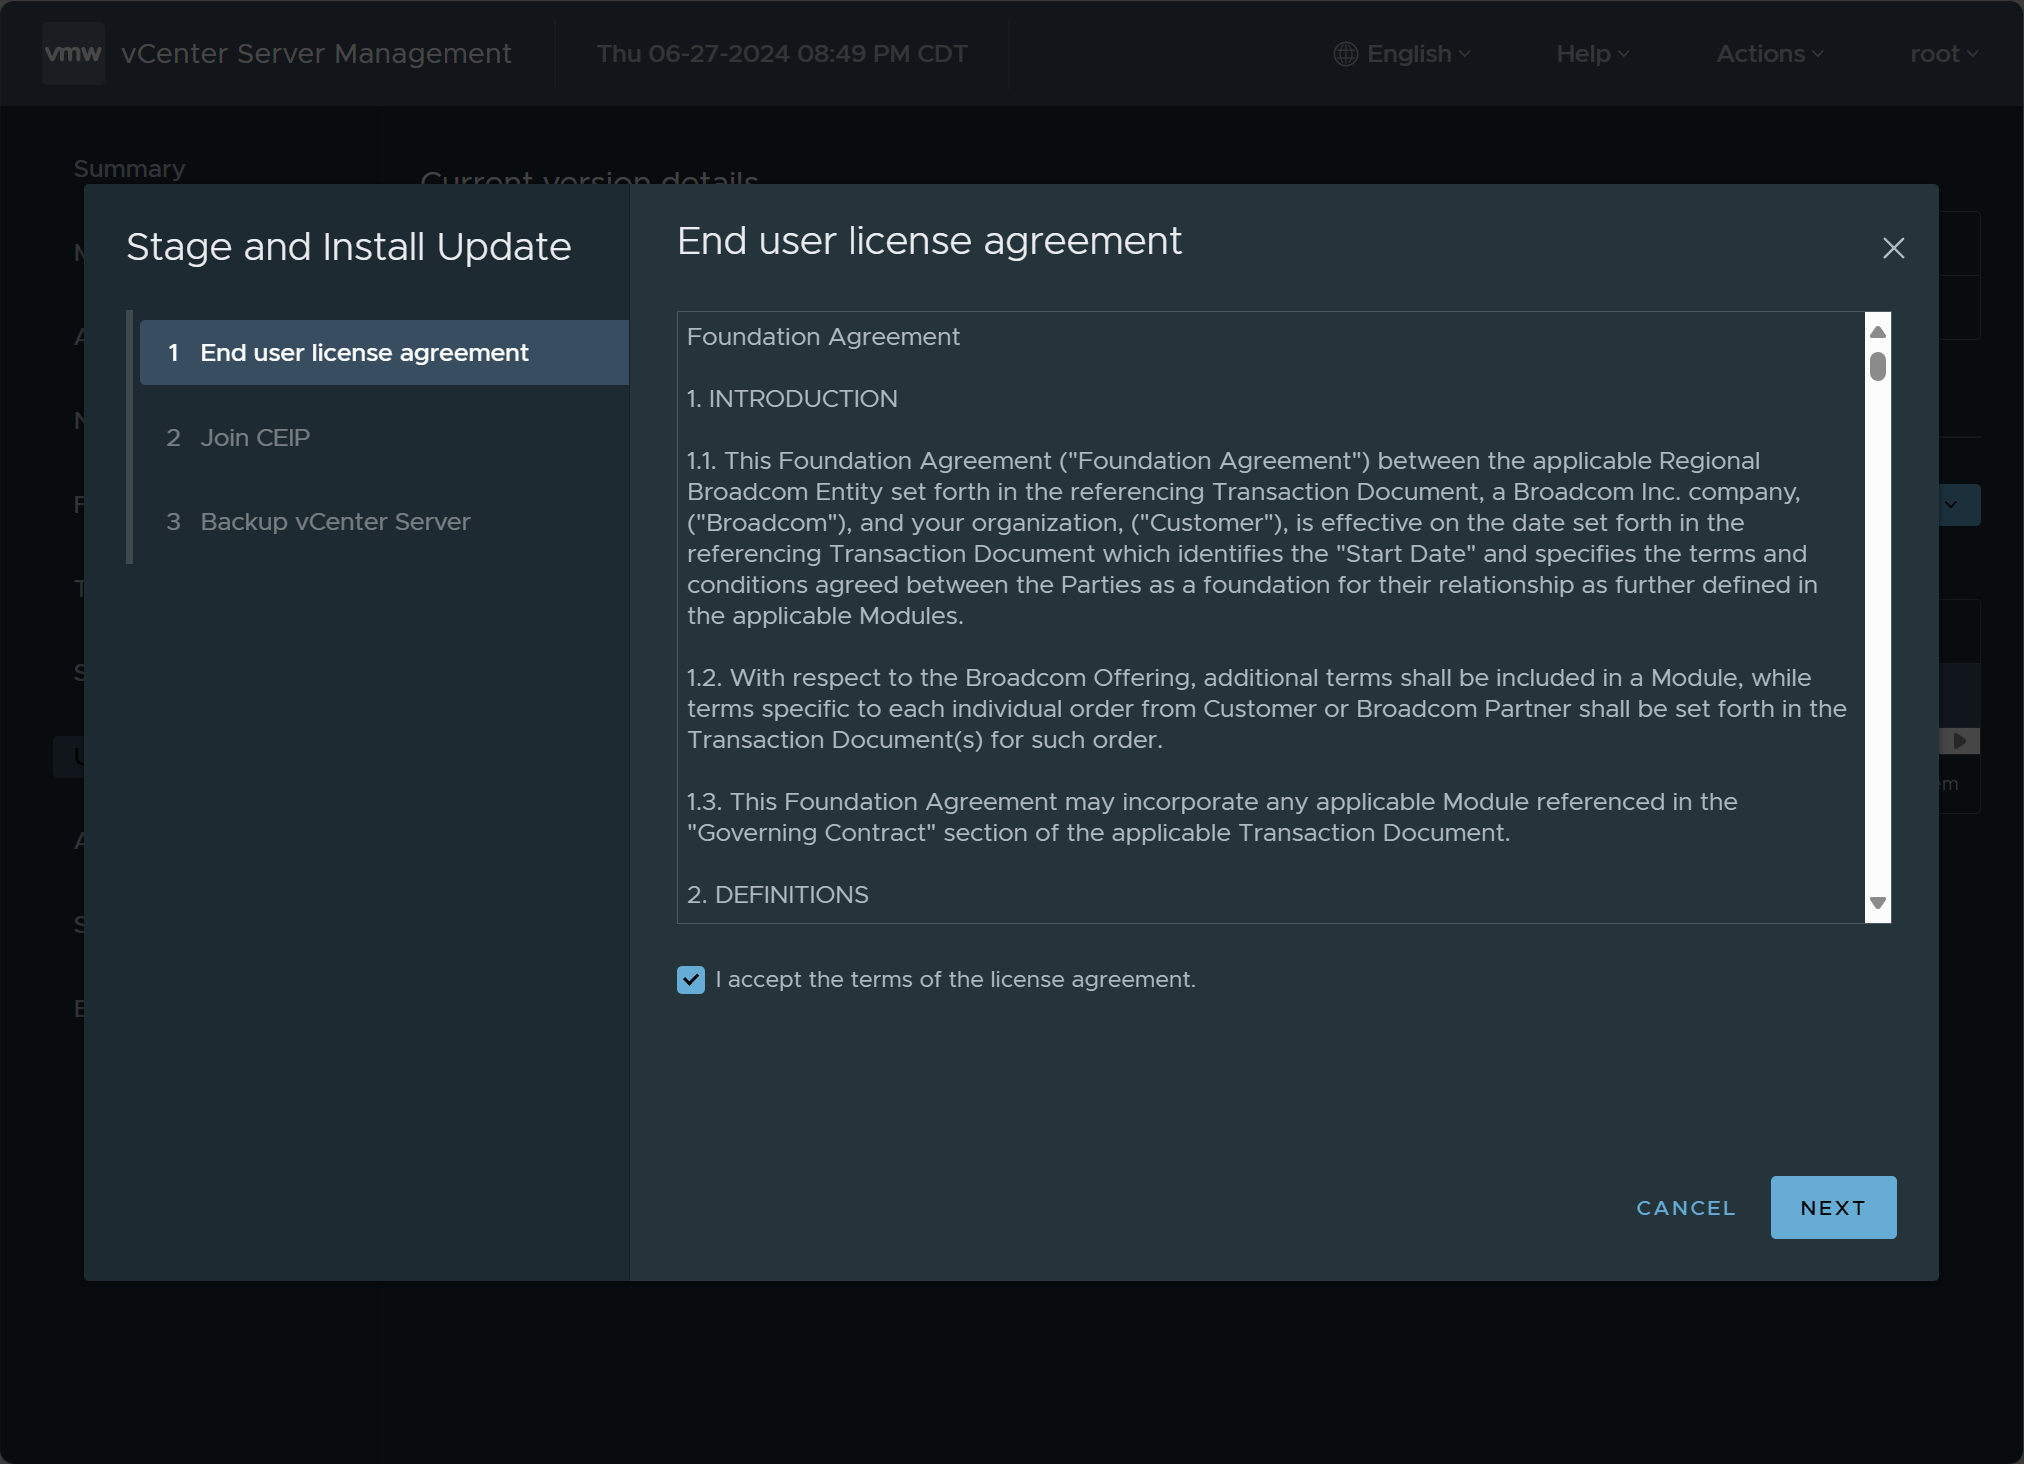
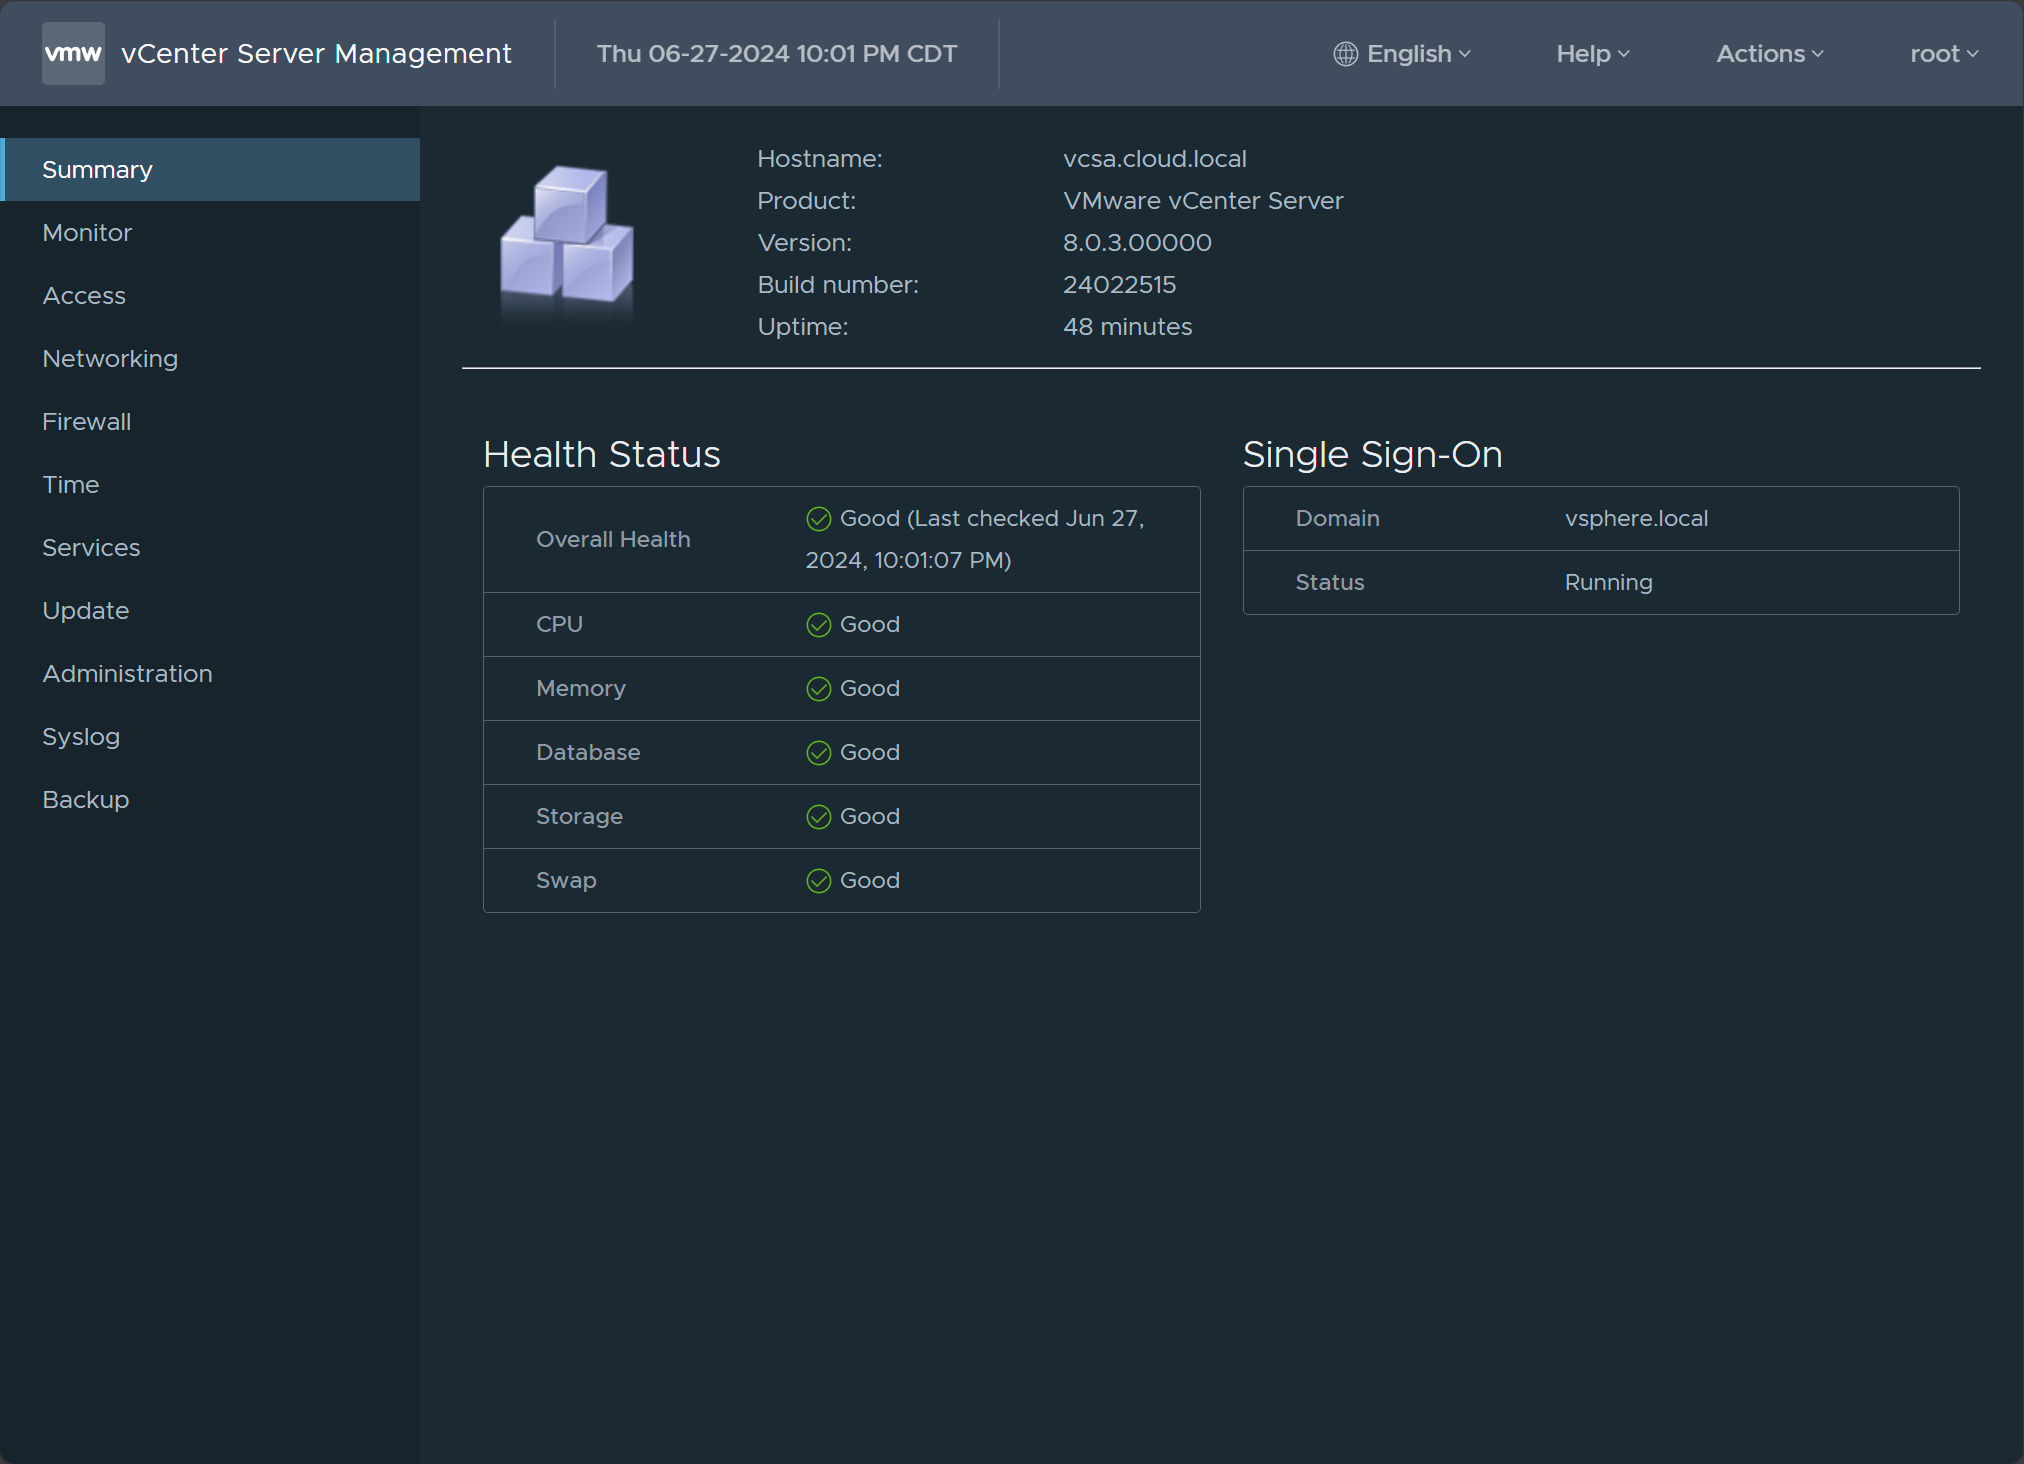
Now that we have a snapshot on our vCenter Server, we can now update our vCenter Server appliance (VCSA). Log into your VAMI interface on port 5480. Navigate to Updates. Select the 8.0.3.00000 update that should show as available.

Choose to Stage and Install. This will launch the Stage and Install Update wizard. First, accept the EULA.
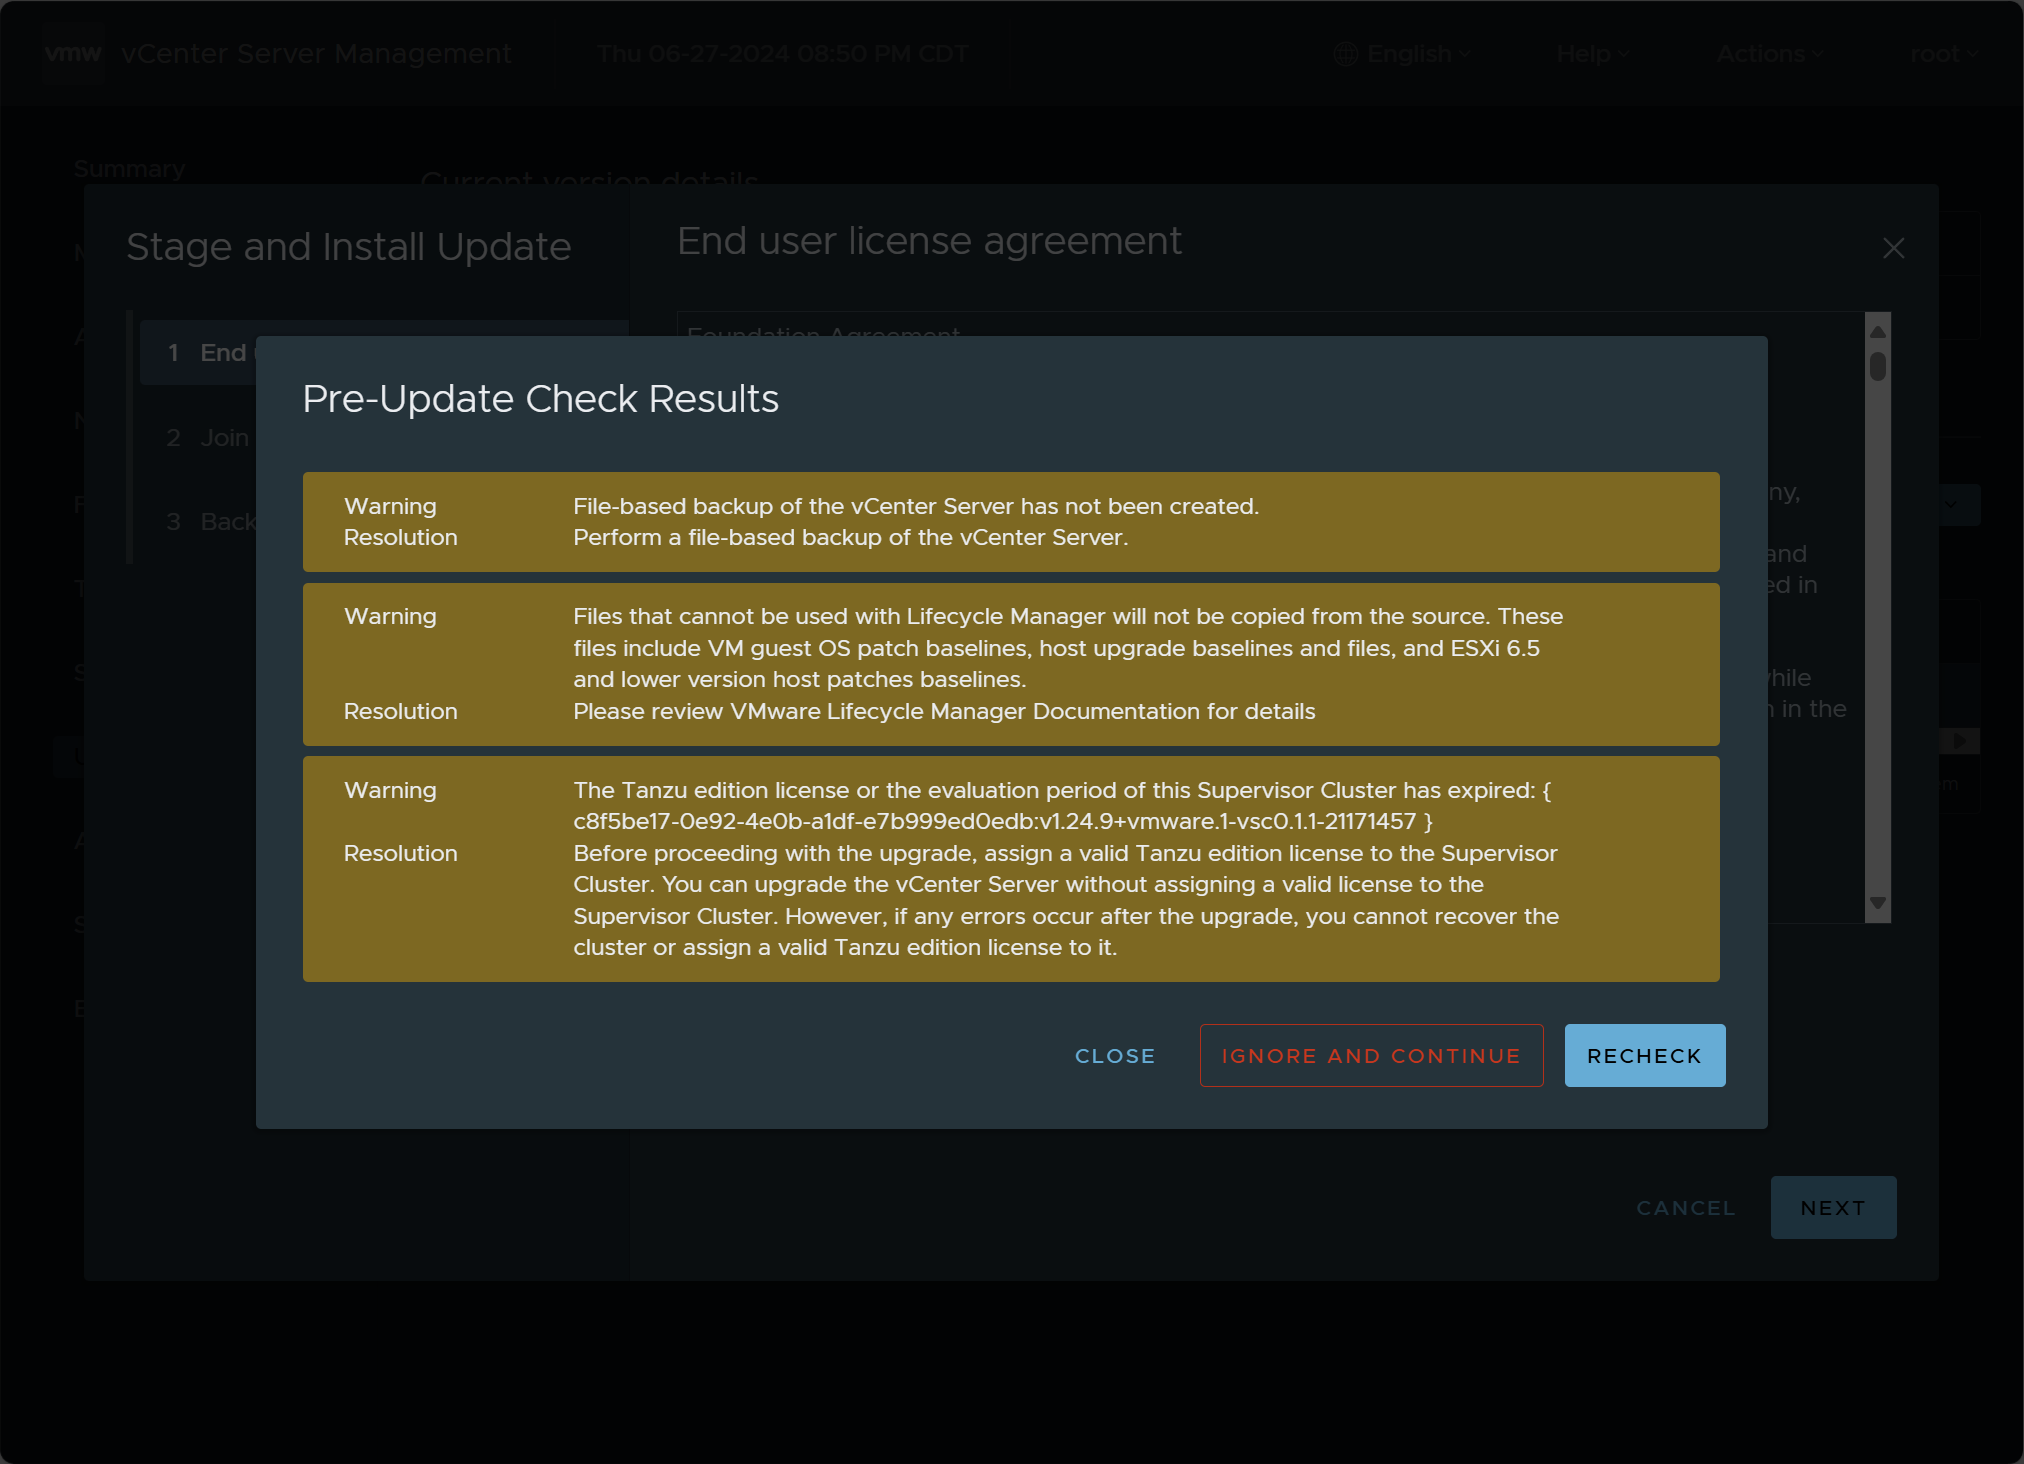
It will run the pre-update checks on your vCenter Server.
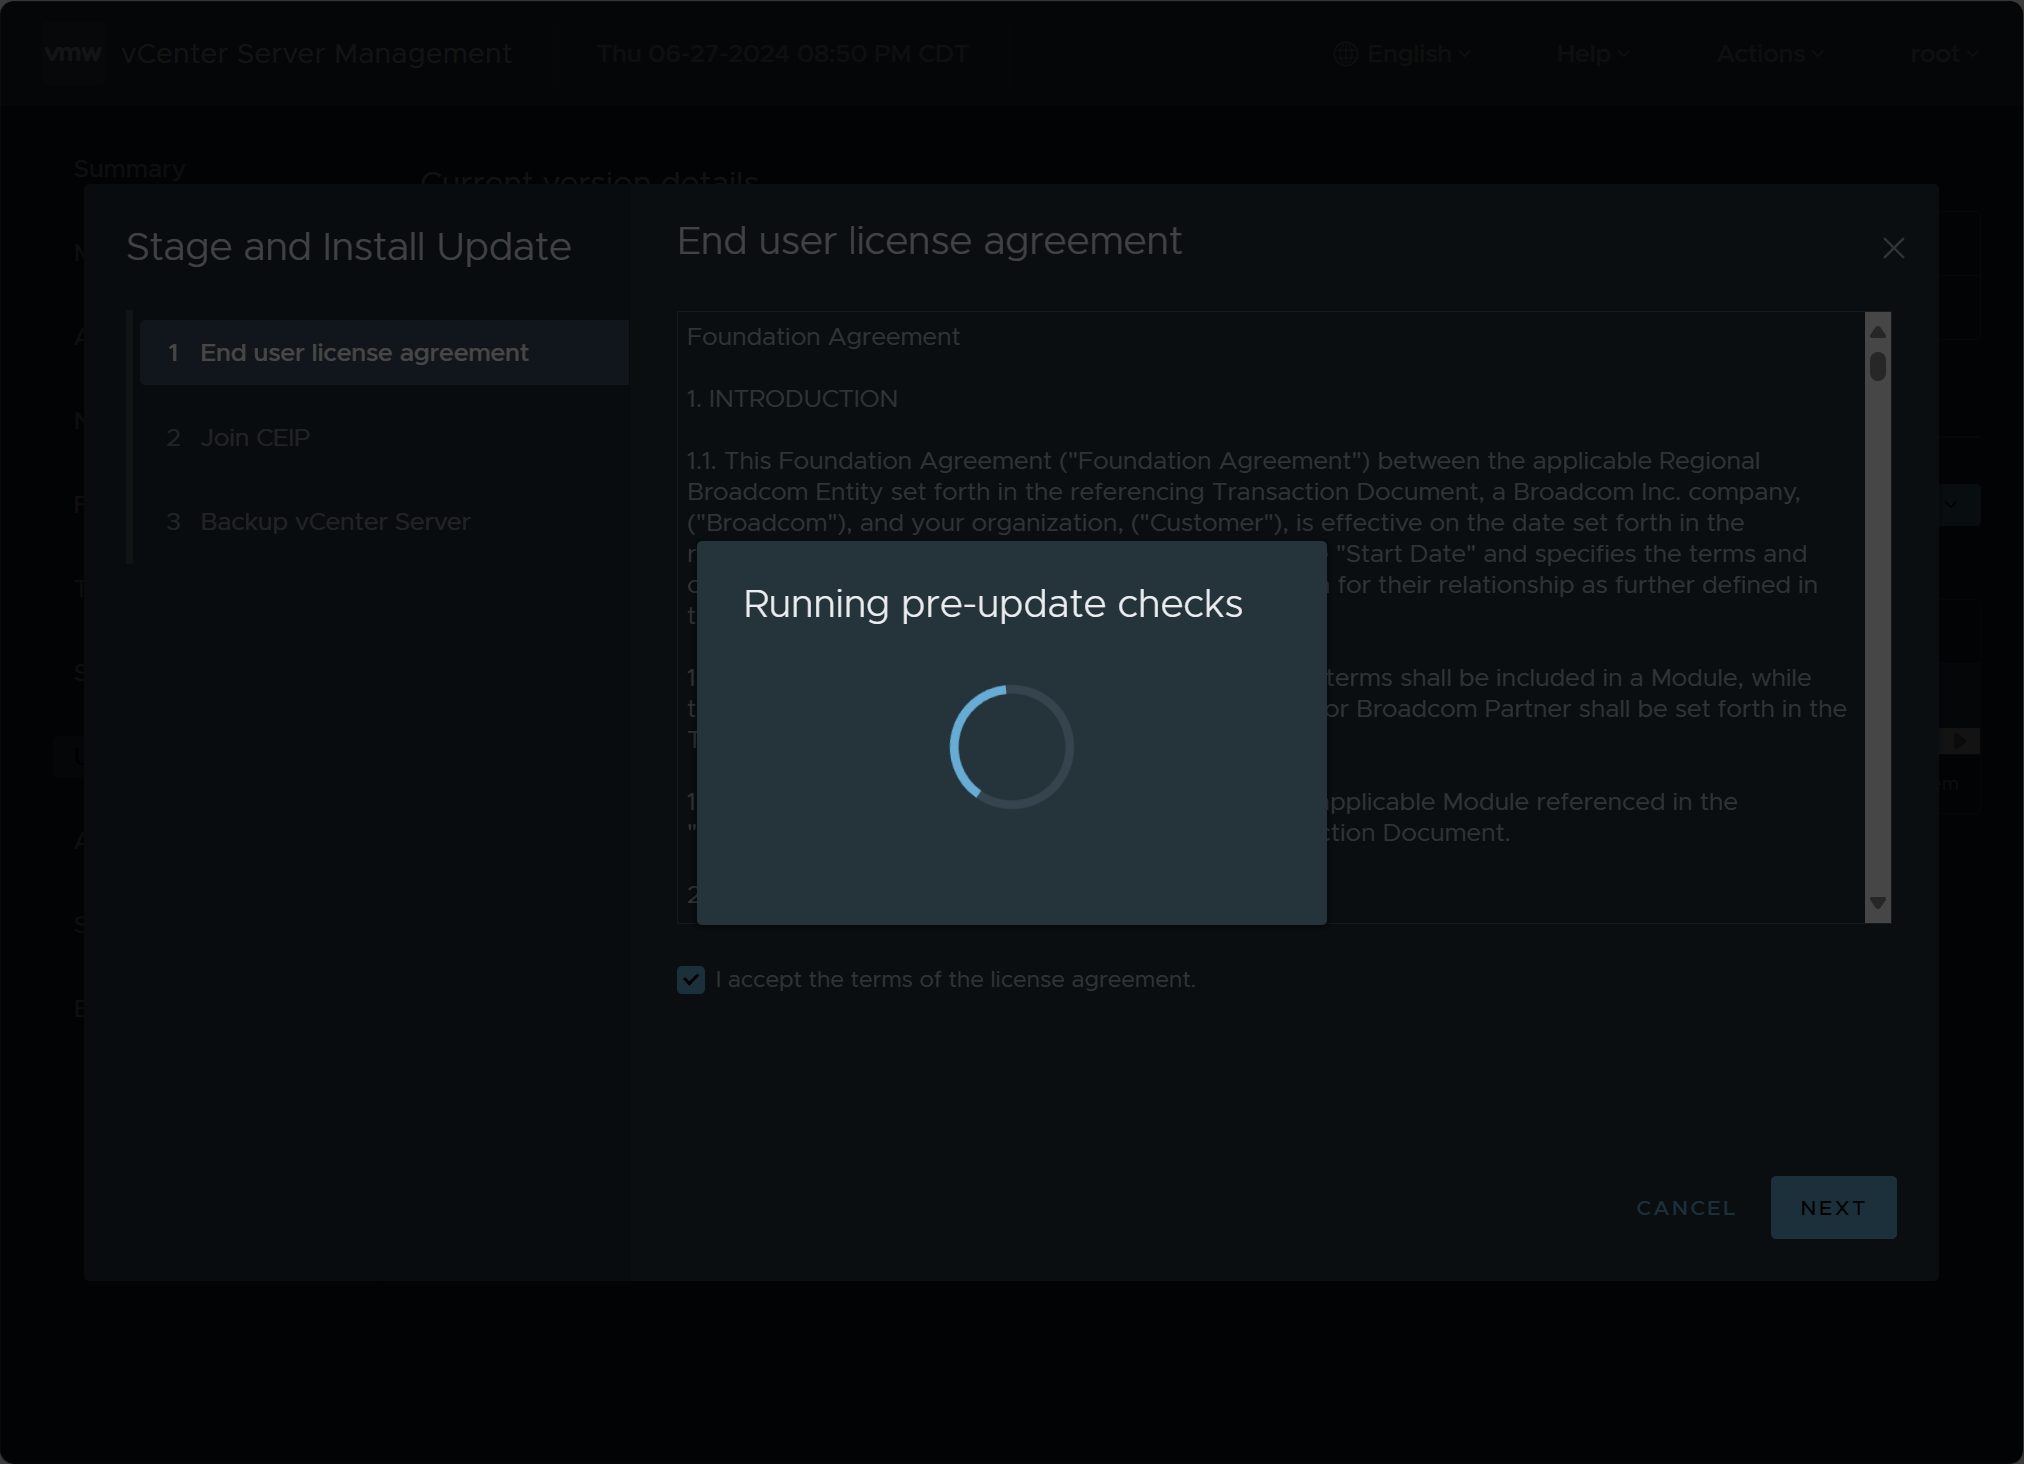
Any checks that need attention will display after the pre-update checks. You can address them and then recheck or you can choose ignore and continue.
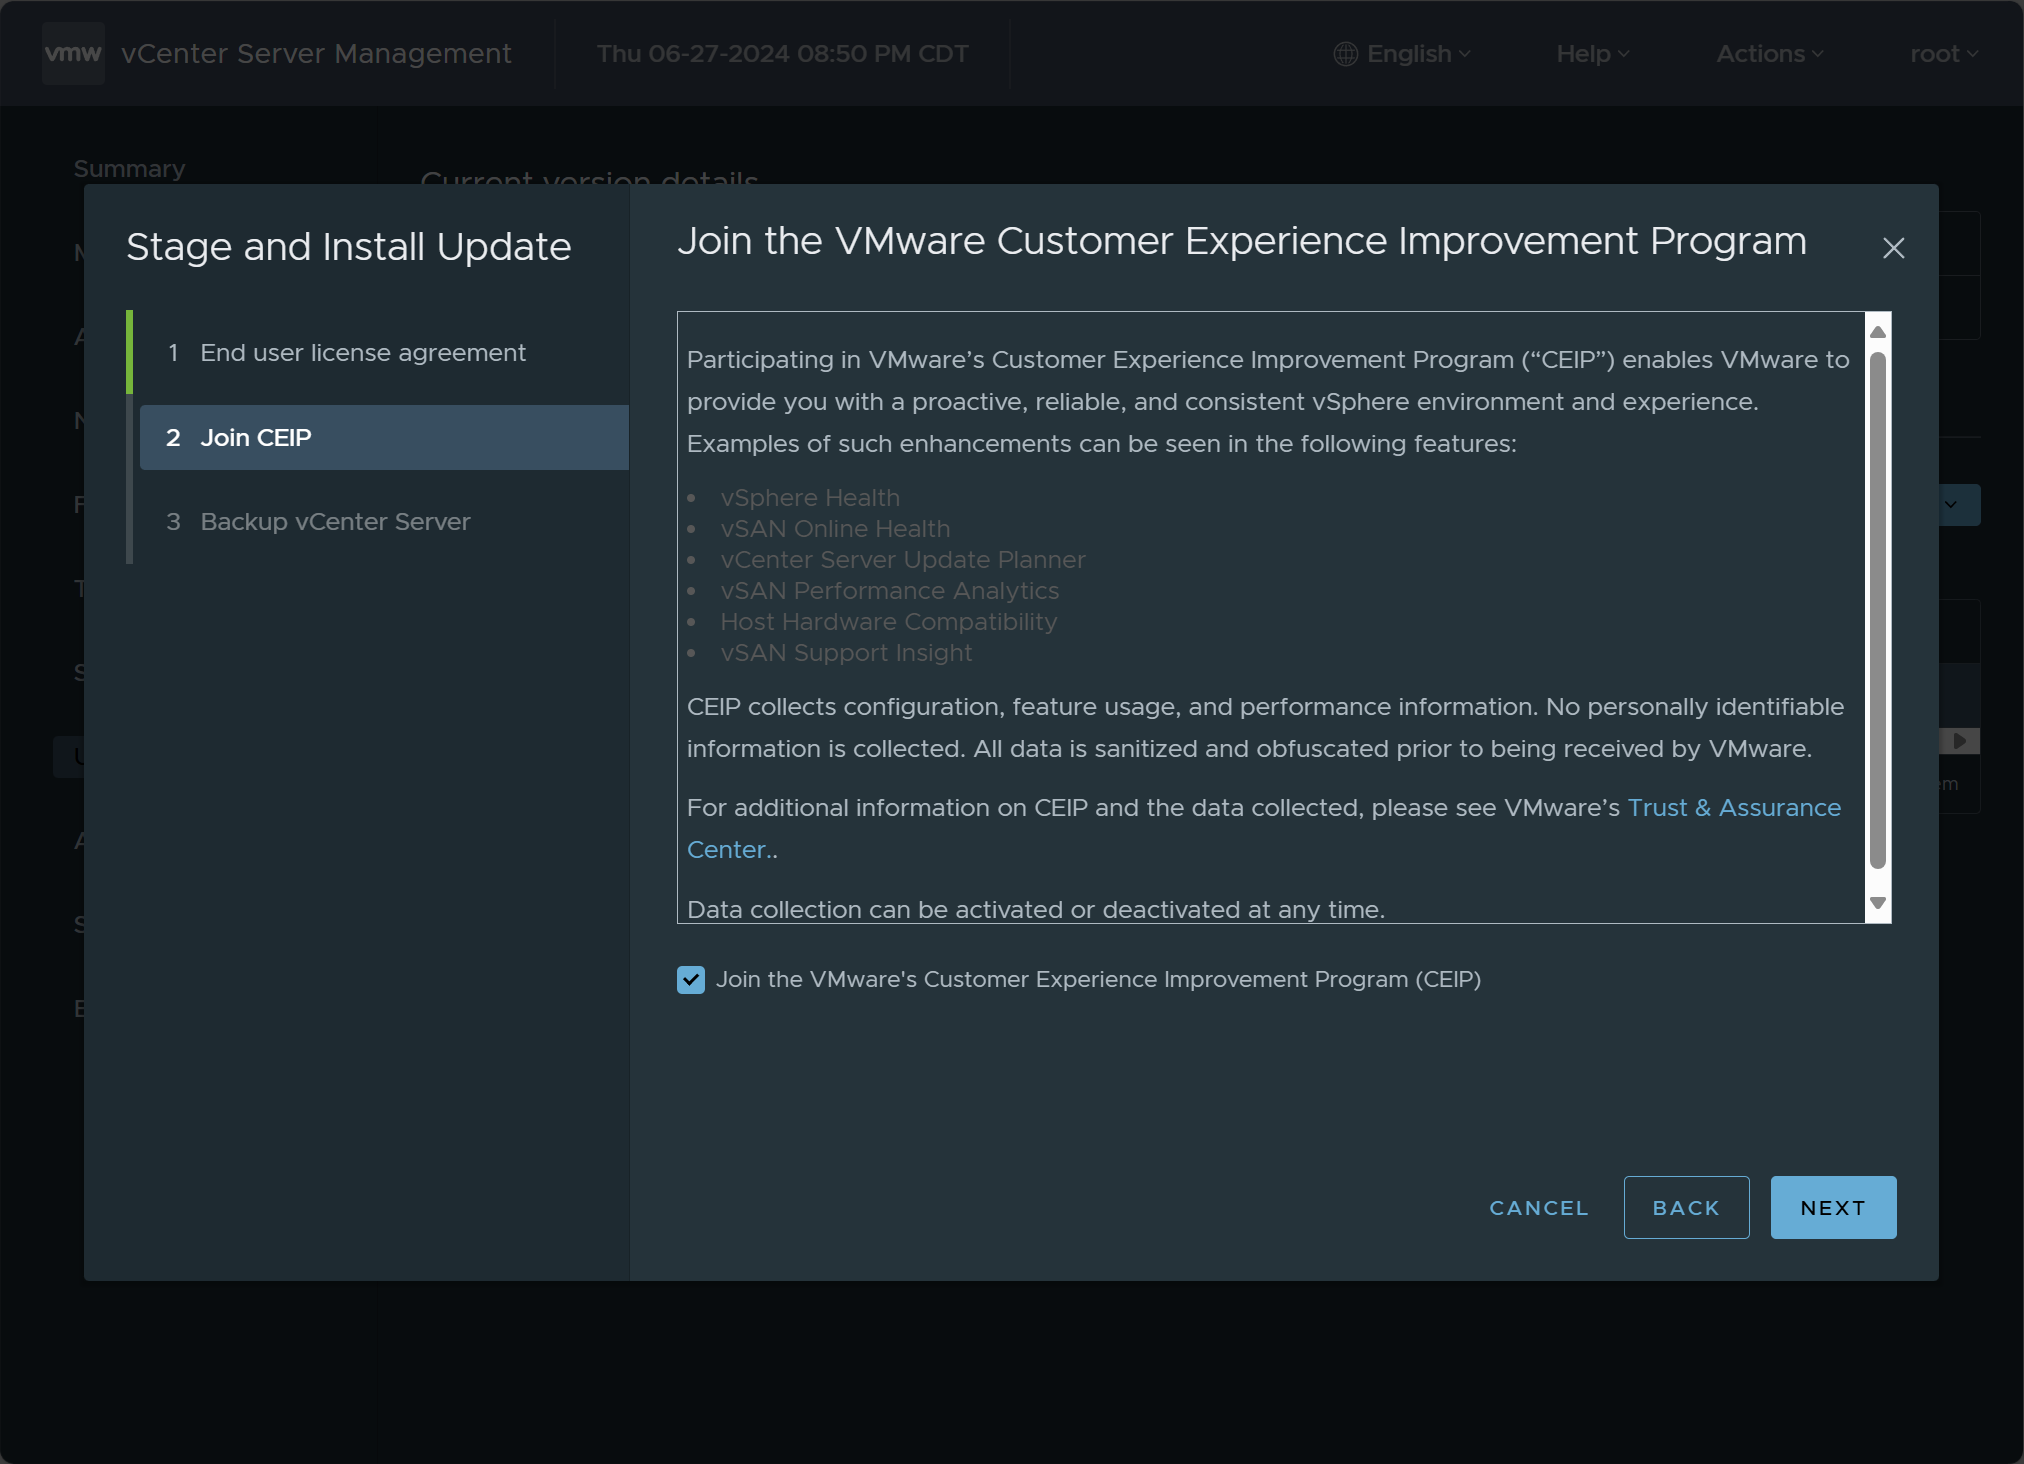
choose whether or not you want to join the CEIP program.
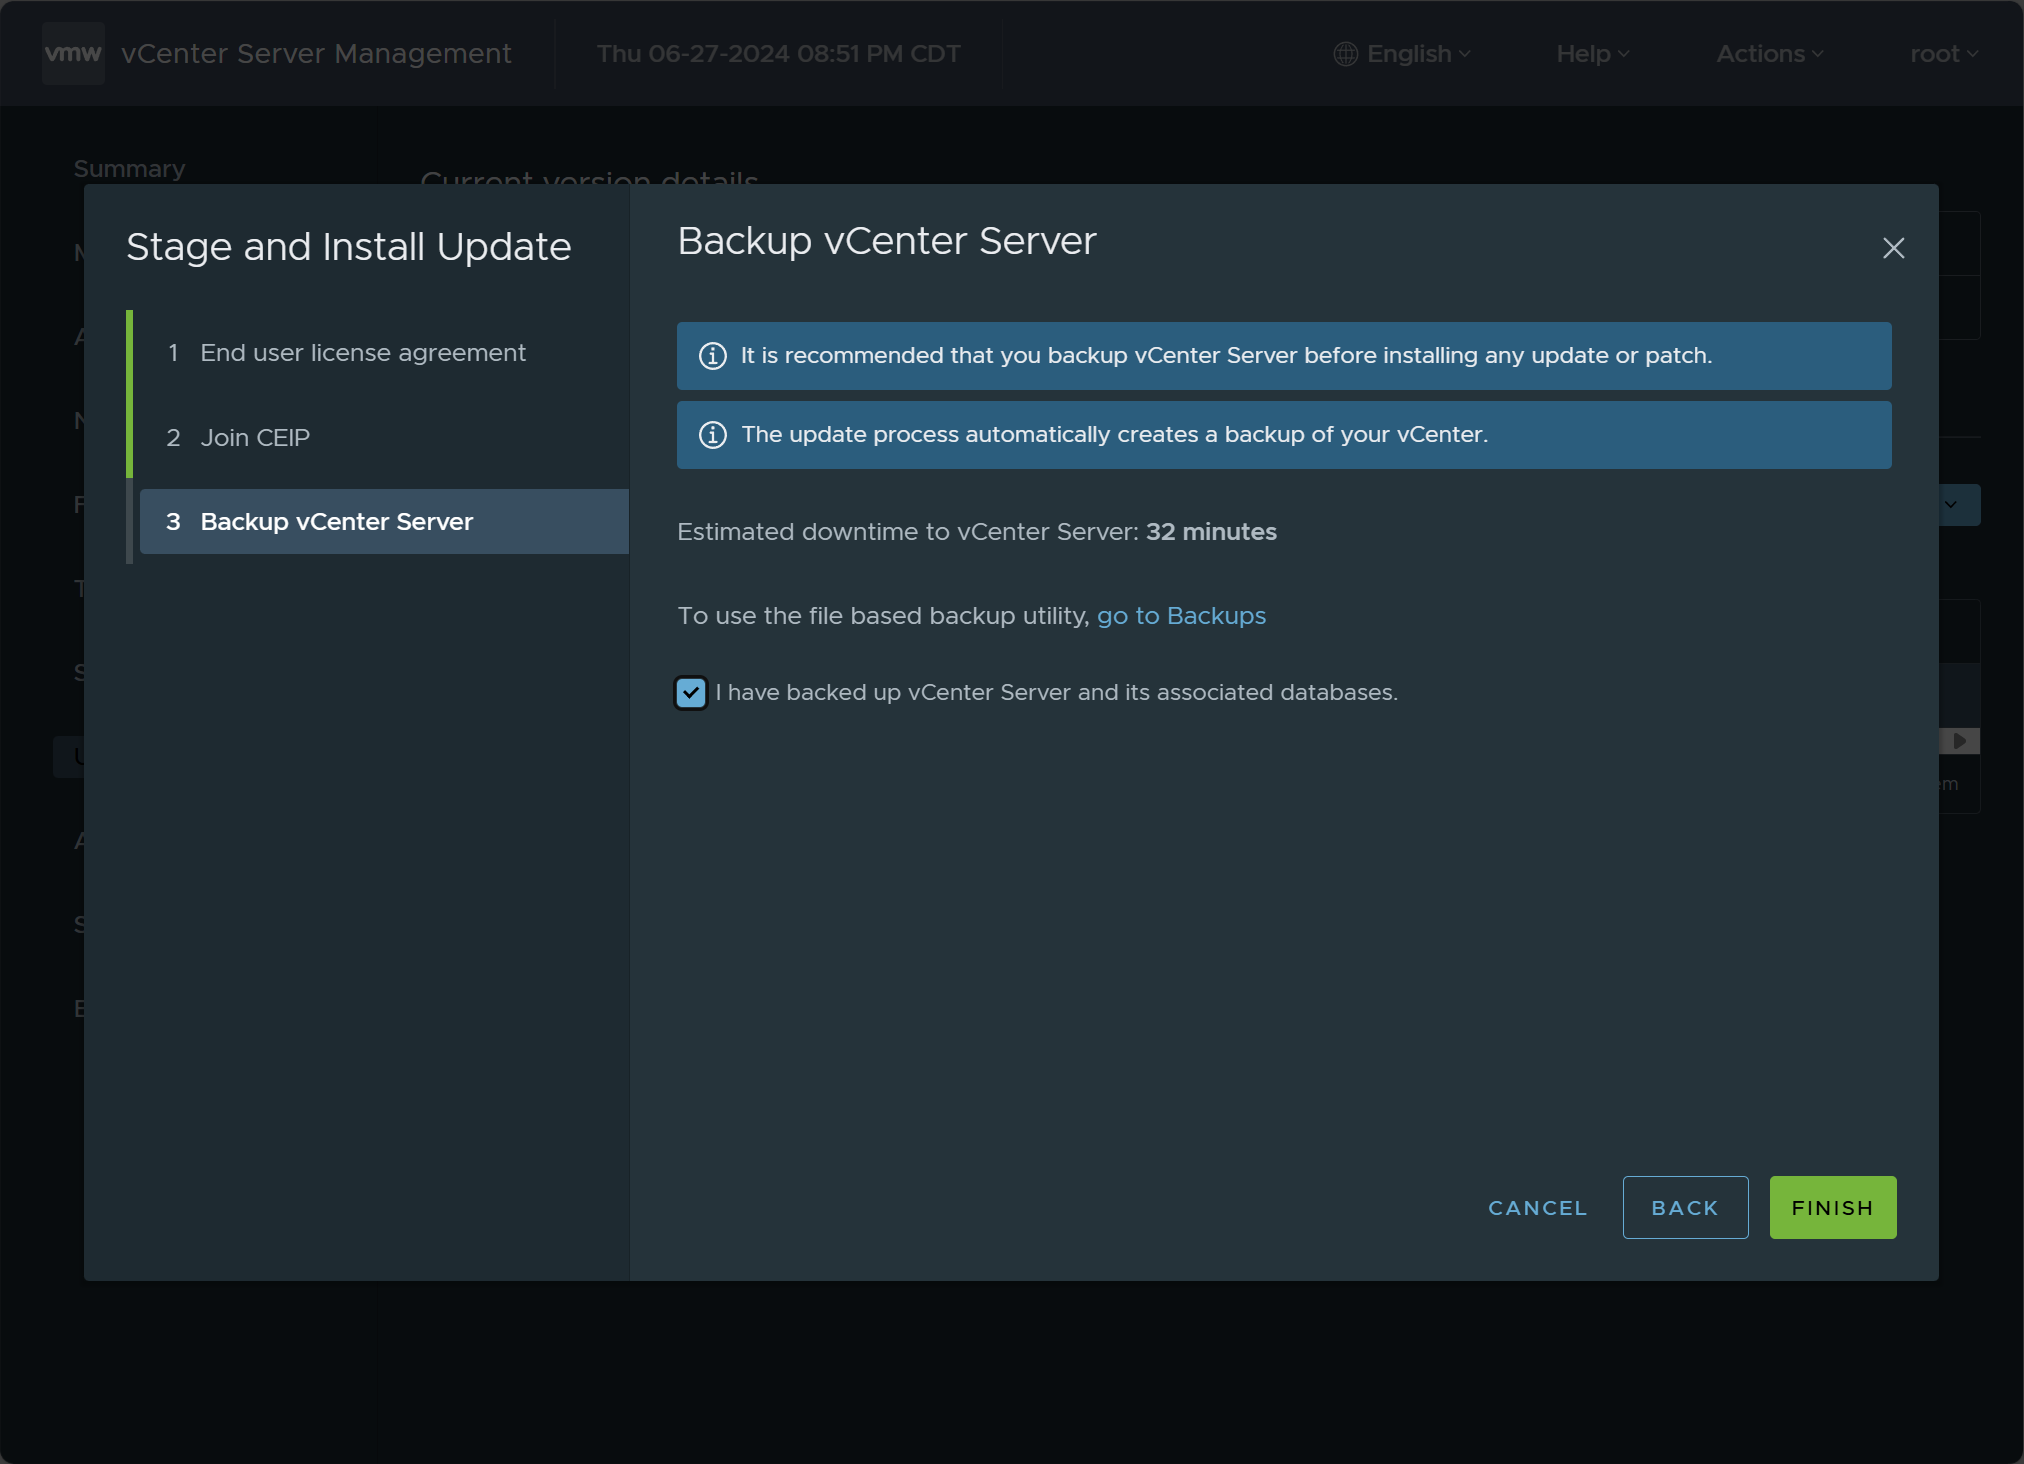
It will ask if you want to backup vcenter server. Check the box I have backed up vCenter Server and associated databases. Click Finish.
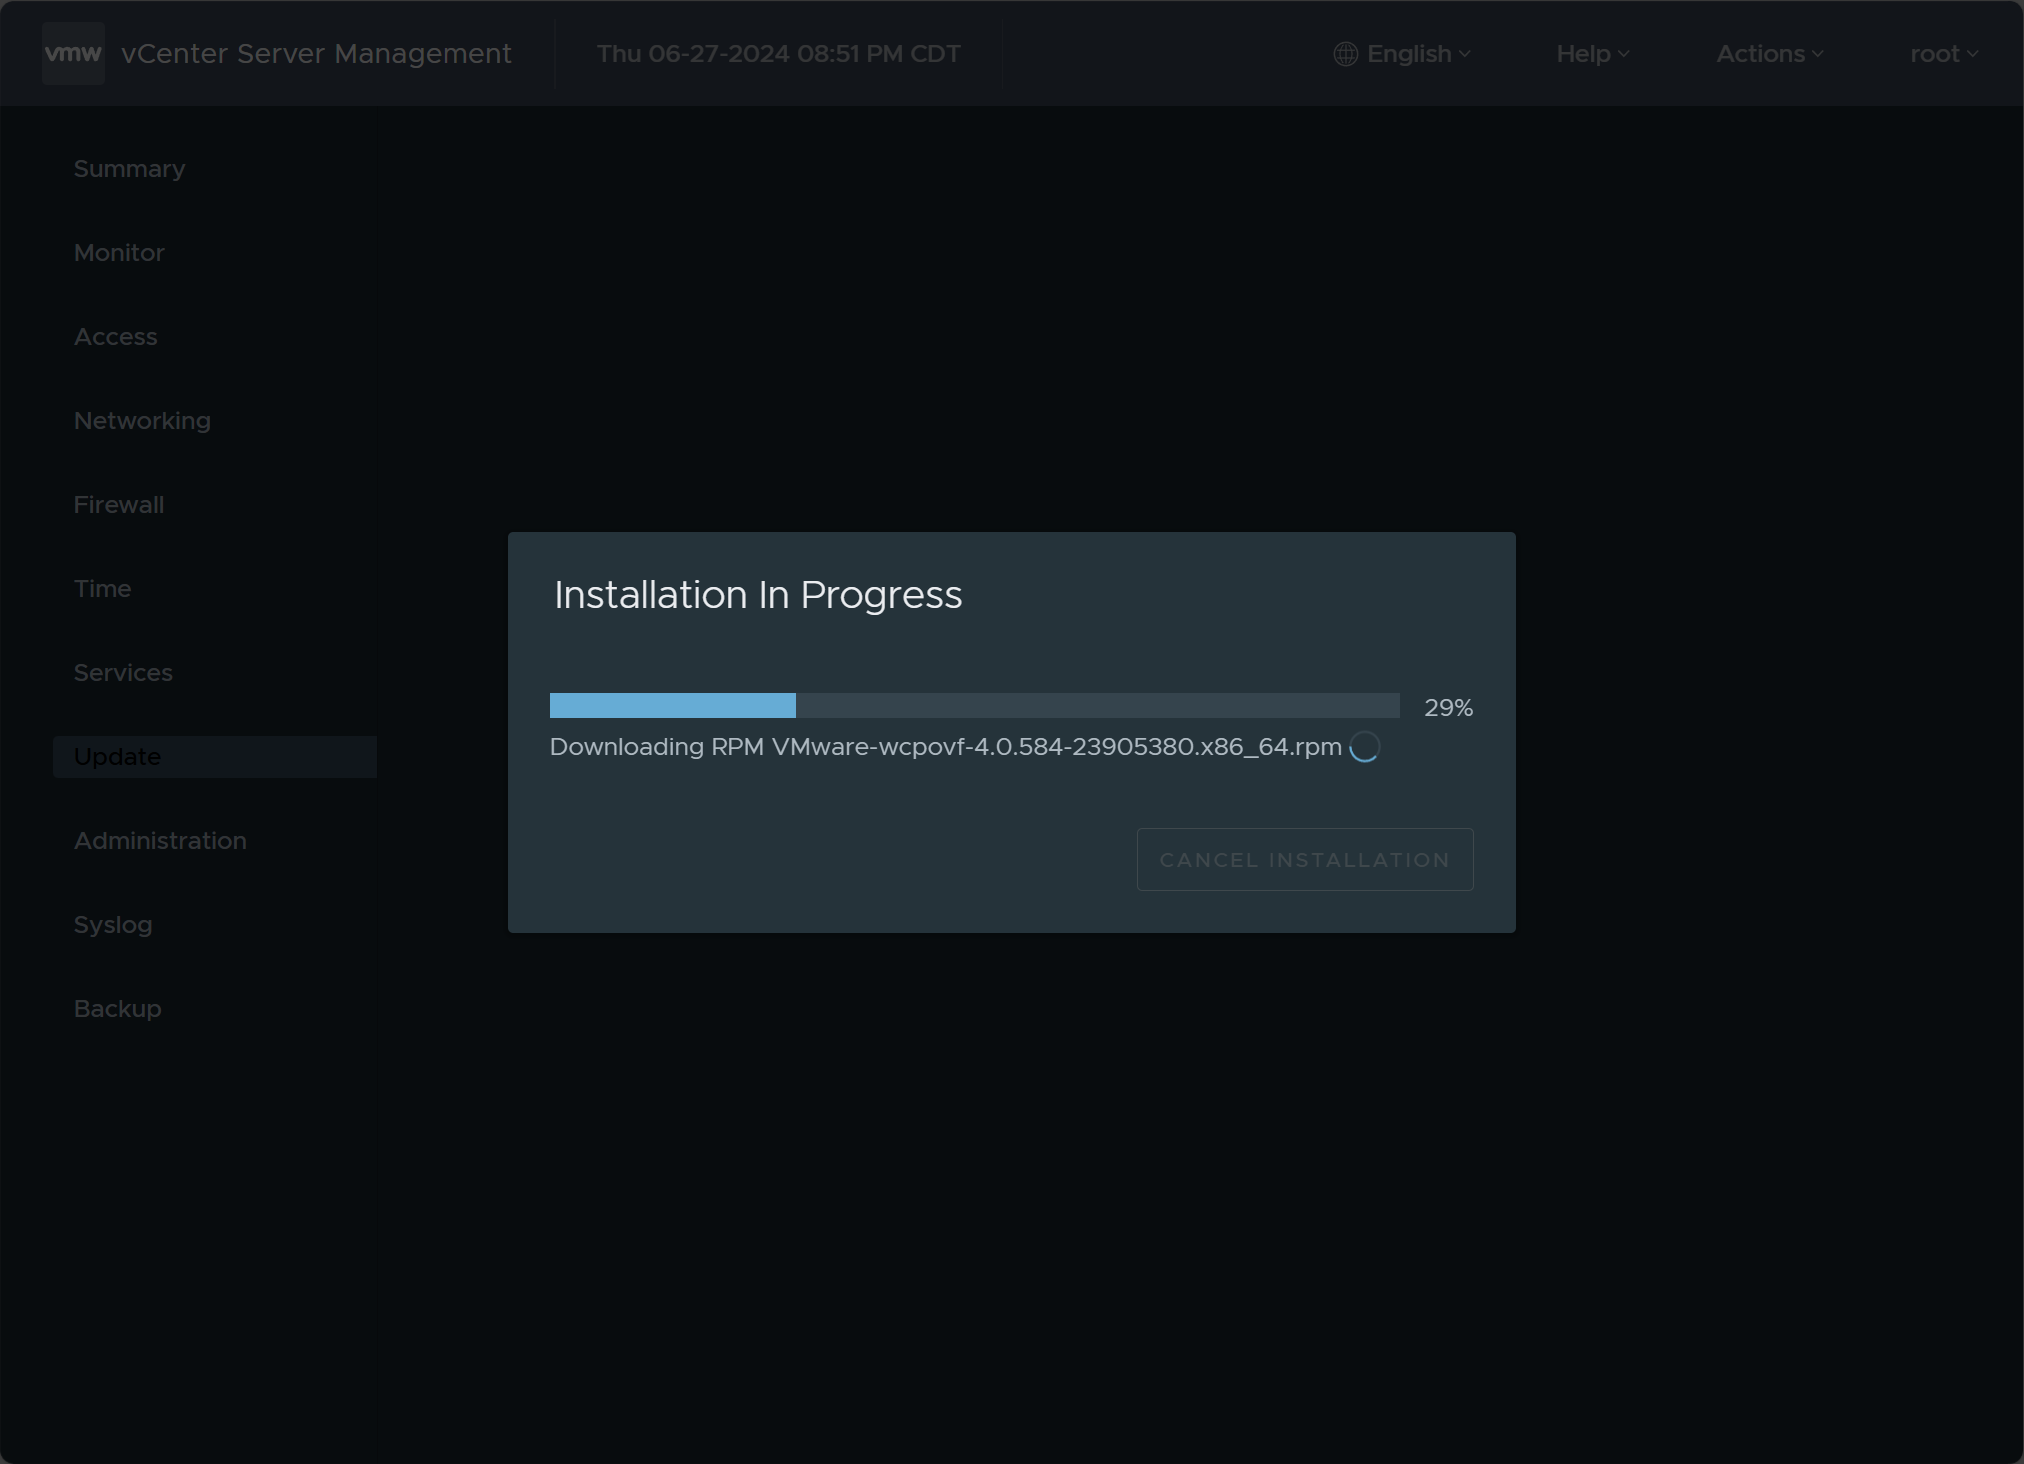
The installation begins.
After the update to update 3 completes, you can log back into your VAMI interface after services have restarted and you should see the new version 8.0.3.00000.
Steps after the upgrade
After you have upgraded your VCSA appliance and let things run a little bit to make sure everything is stable, you can delete the snapshot. Then make sure your integrations, data protection solution, etc work correctly after the update.
Wrapping up
VMware vCenter Server updates and upgrades are really super simple using the process we have shown here. Just throw a snapshot on your VCSA appliance beforehand and you will have an easy rollback to a previous version in case something happens. Also, make sure to check compatibility from your data protection solution and other integrations. Let me know what you guys experience has been with your upgrade process so far.
Google is updating how articles are shown. Don’t miss our leading home lab and tech content, written by humans, by setting Virtualization Howto as a preferred source.
About The Author


Hi Brandon,
We did the upgrade and all worked perfectly.
The issue we have had for some time is our SMB backup is not working. It times out after a couple of minutes.
It used to work without any issues. The SMB share is the same and on the same server. No firewall issues blocking
SMB ports. Backup file directories are create in the empty SMB share when we start the backup but then the process
times out. We did a log dump (over 6 gb in total size!) but cannot find any definitive log entries to determine why this is happening.
Appreciate any ideas on how we can fix this.
Lars,
That is great to hear about the upgrade. So far, the ones I have done have been flawless as well. That is interesting on the SMB share. Let me ask this, do you have SMB 1.0 enabled for those shares? It seems like SMB 1.0 was required when introduced. I need to look and see if this is still a requirement in the latest versions.
Brandon
if I have an old permanent license, will it still work? or will be expired after upgrade
thx
mbrayer,
I haven’t seen any changed behavior so far with licensing and the upgrade. It looks to still be treating the licenses the same for now.
Brandon